Food 101: Pumpkin Roasting
In an ideal world, we would have had this post up before Thanksgiving and pumpkin pie making time. But alas, time got away from us, and that did not happen. But, perhaps it’s even better timing now, as people transition from fall decorations to Christmas/winter ones. As we covered in pumpkin seed post, pumpkins are cool because they’re both festive seasonal decorations, and food. So instead of just throwing those pumpkins you bought for decoration out, roast them! You can roast them in slices and eat like you would other winter squash, or you can roast them for pumpkin puree. This is probably the most versatile option, since there are many things you can use pumpkin puree for. You can use any size pumpkin you have on hand, but these guidelines are written for sugar pumpkins, which are the smaller ones. If you’re using big pumpkins, like the kind for jack o’lanterns, roasting times may vary.

This is a sugar pumpkin
Both roasting processes begin with cutting your pumpkin in half and scooping out the guts. And also preheating your oven to 375 degrees (Fahrenheit).
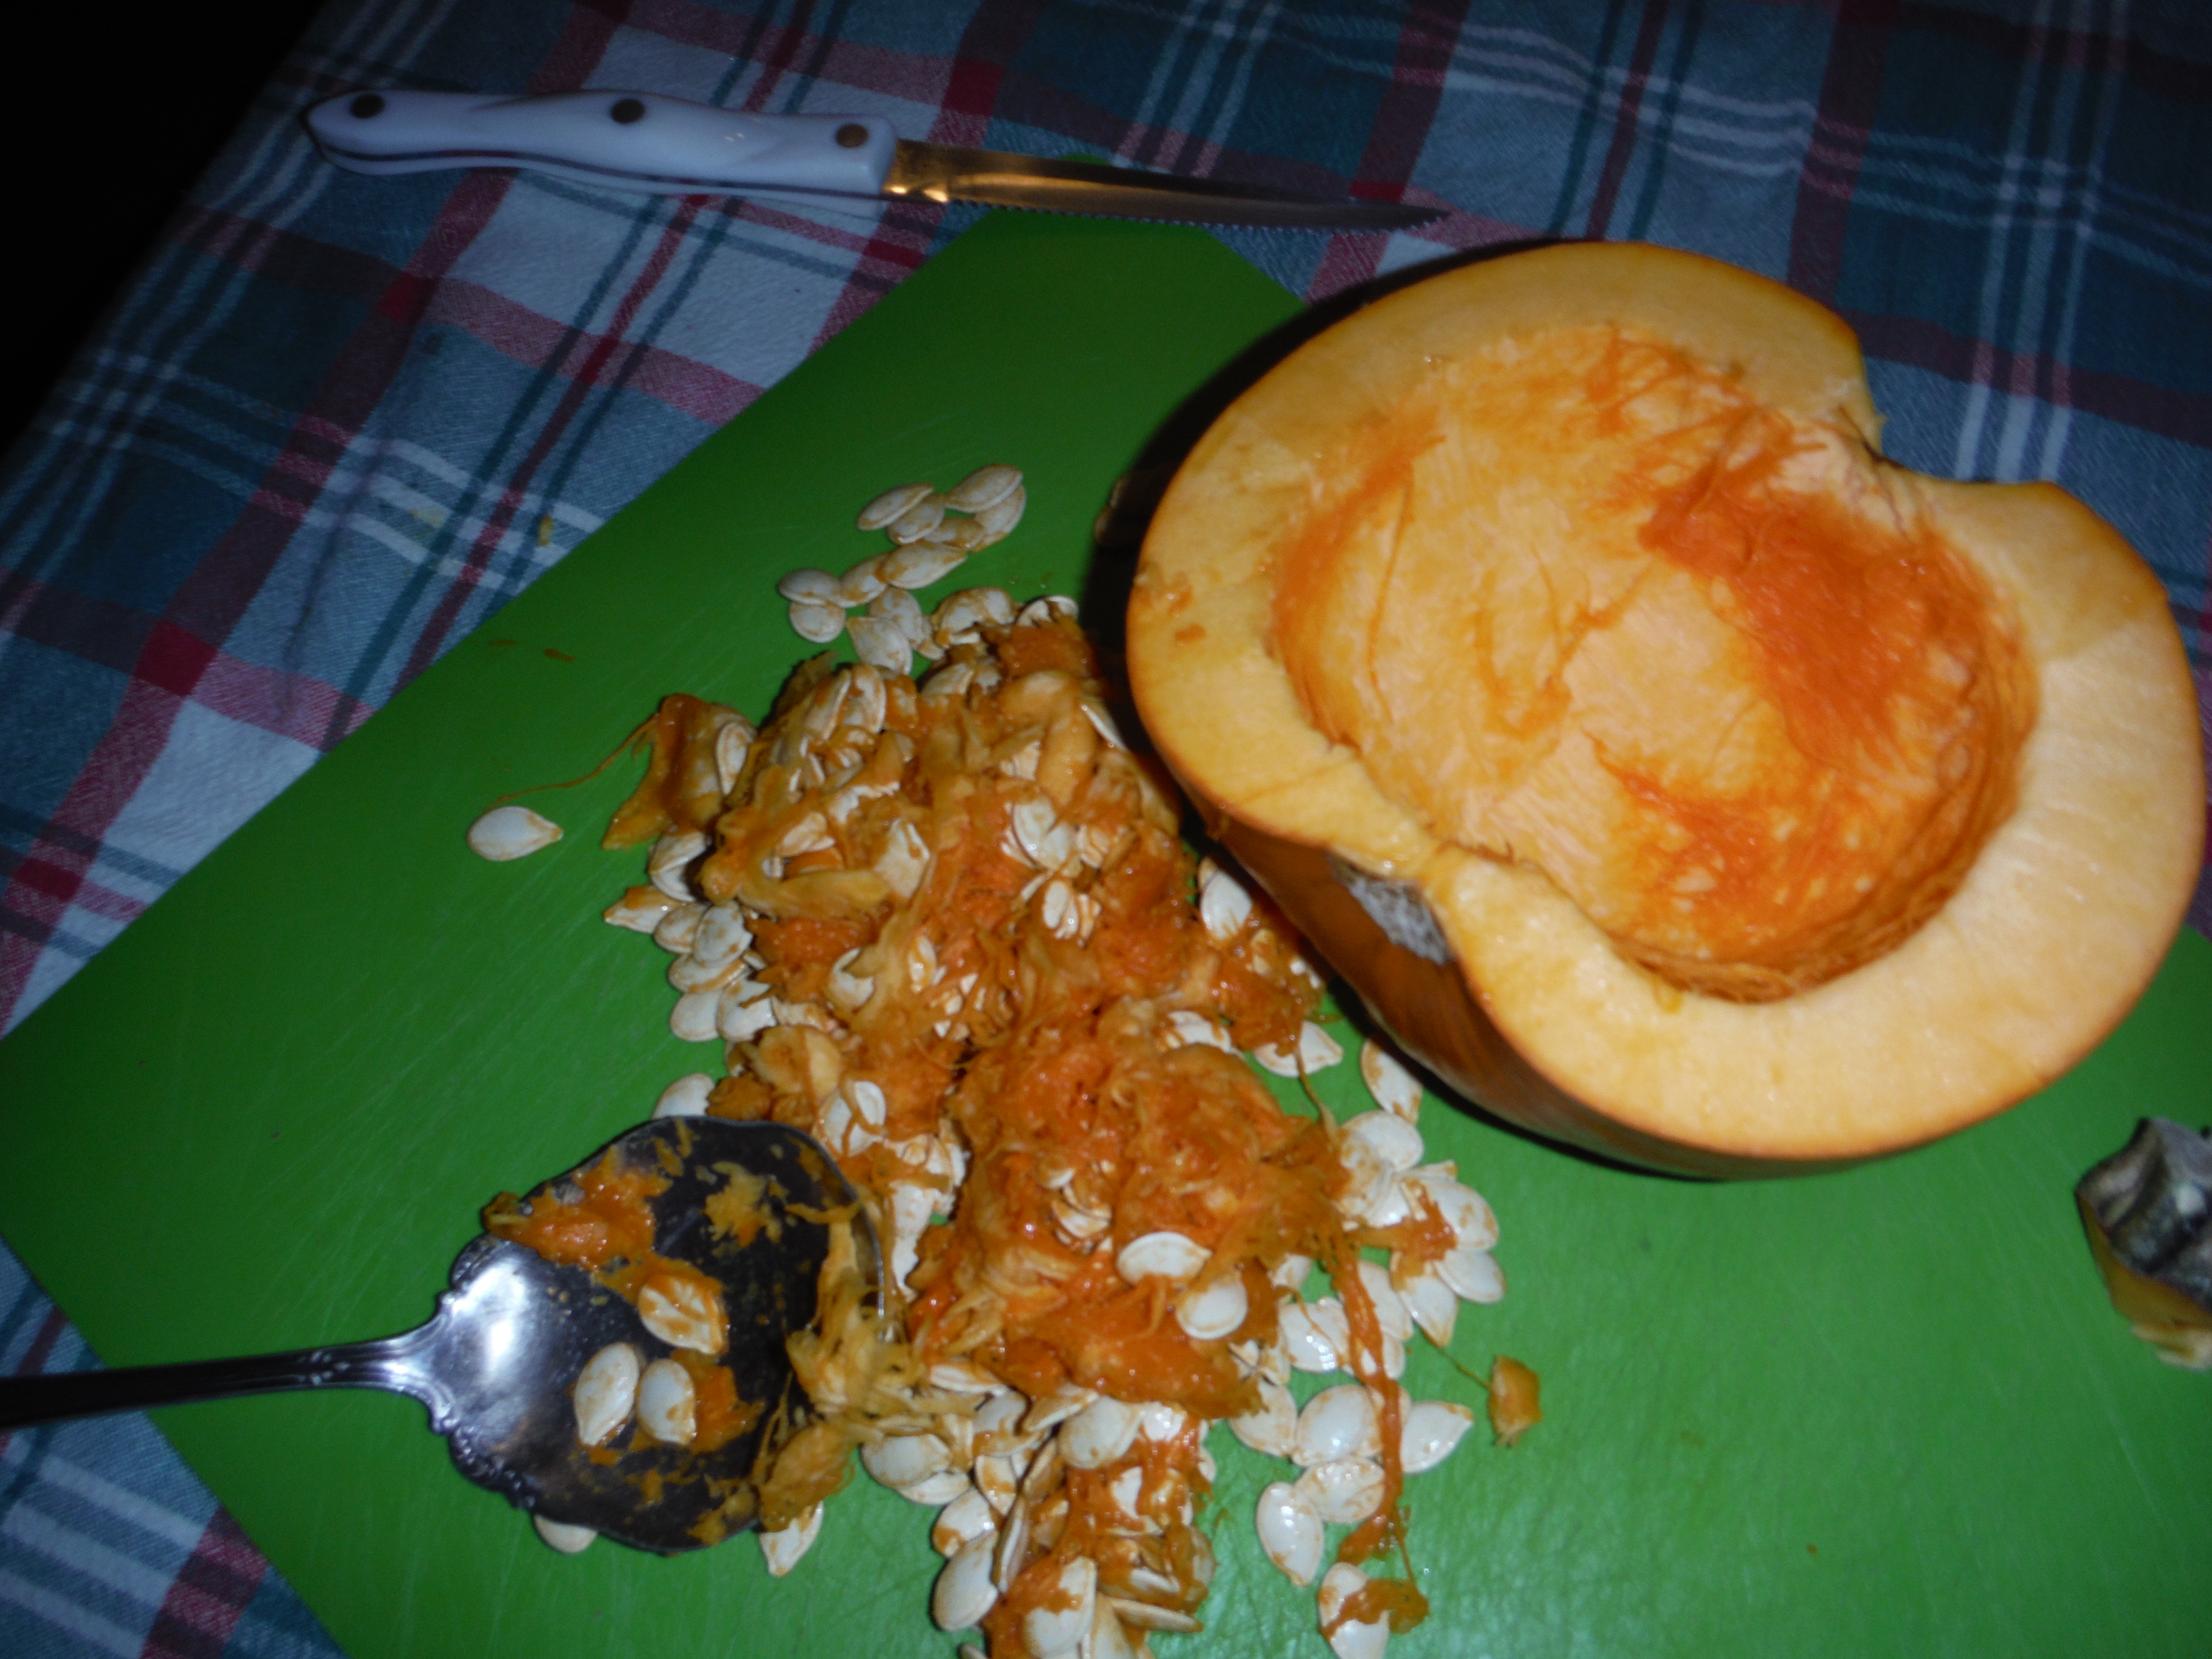
The beginning
Pumpkin Puree:
For pumpkin puree you can stop cutting after the pumpkin has been halved and scooped clean.
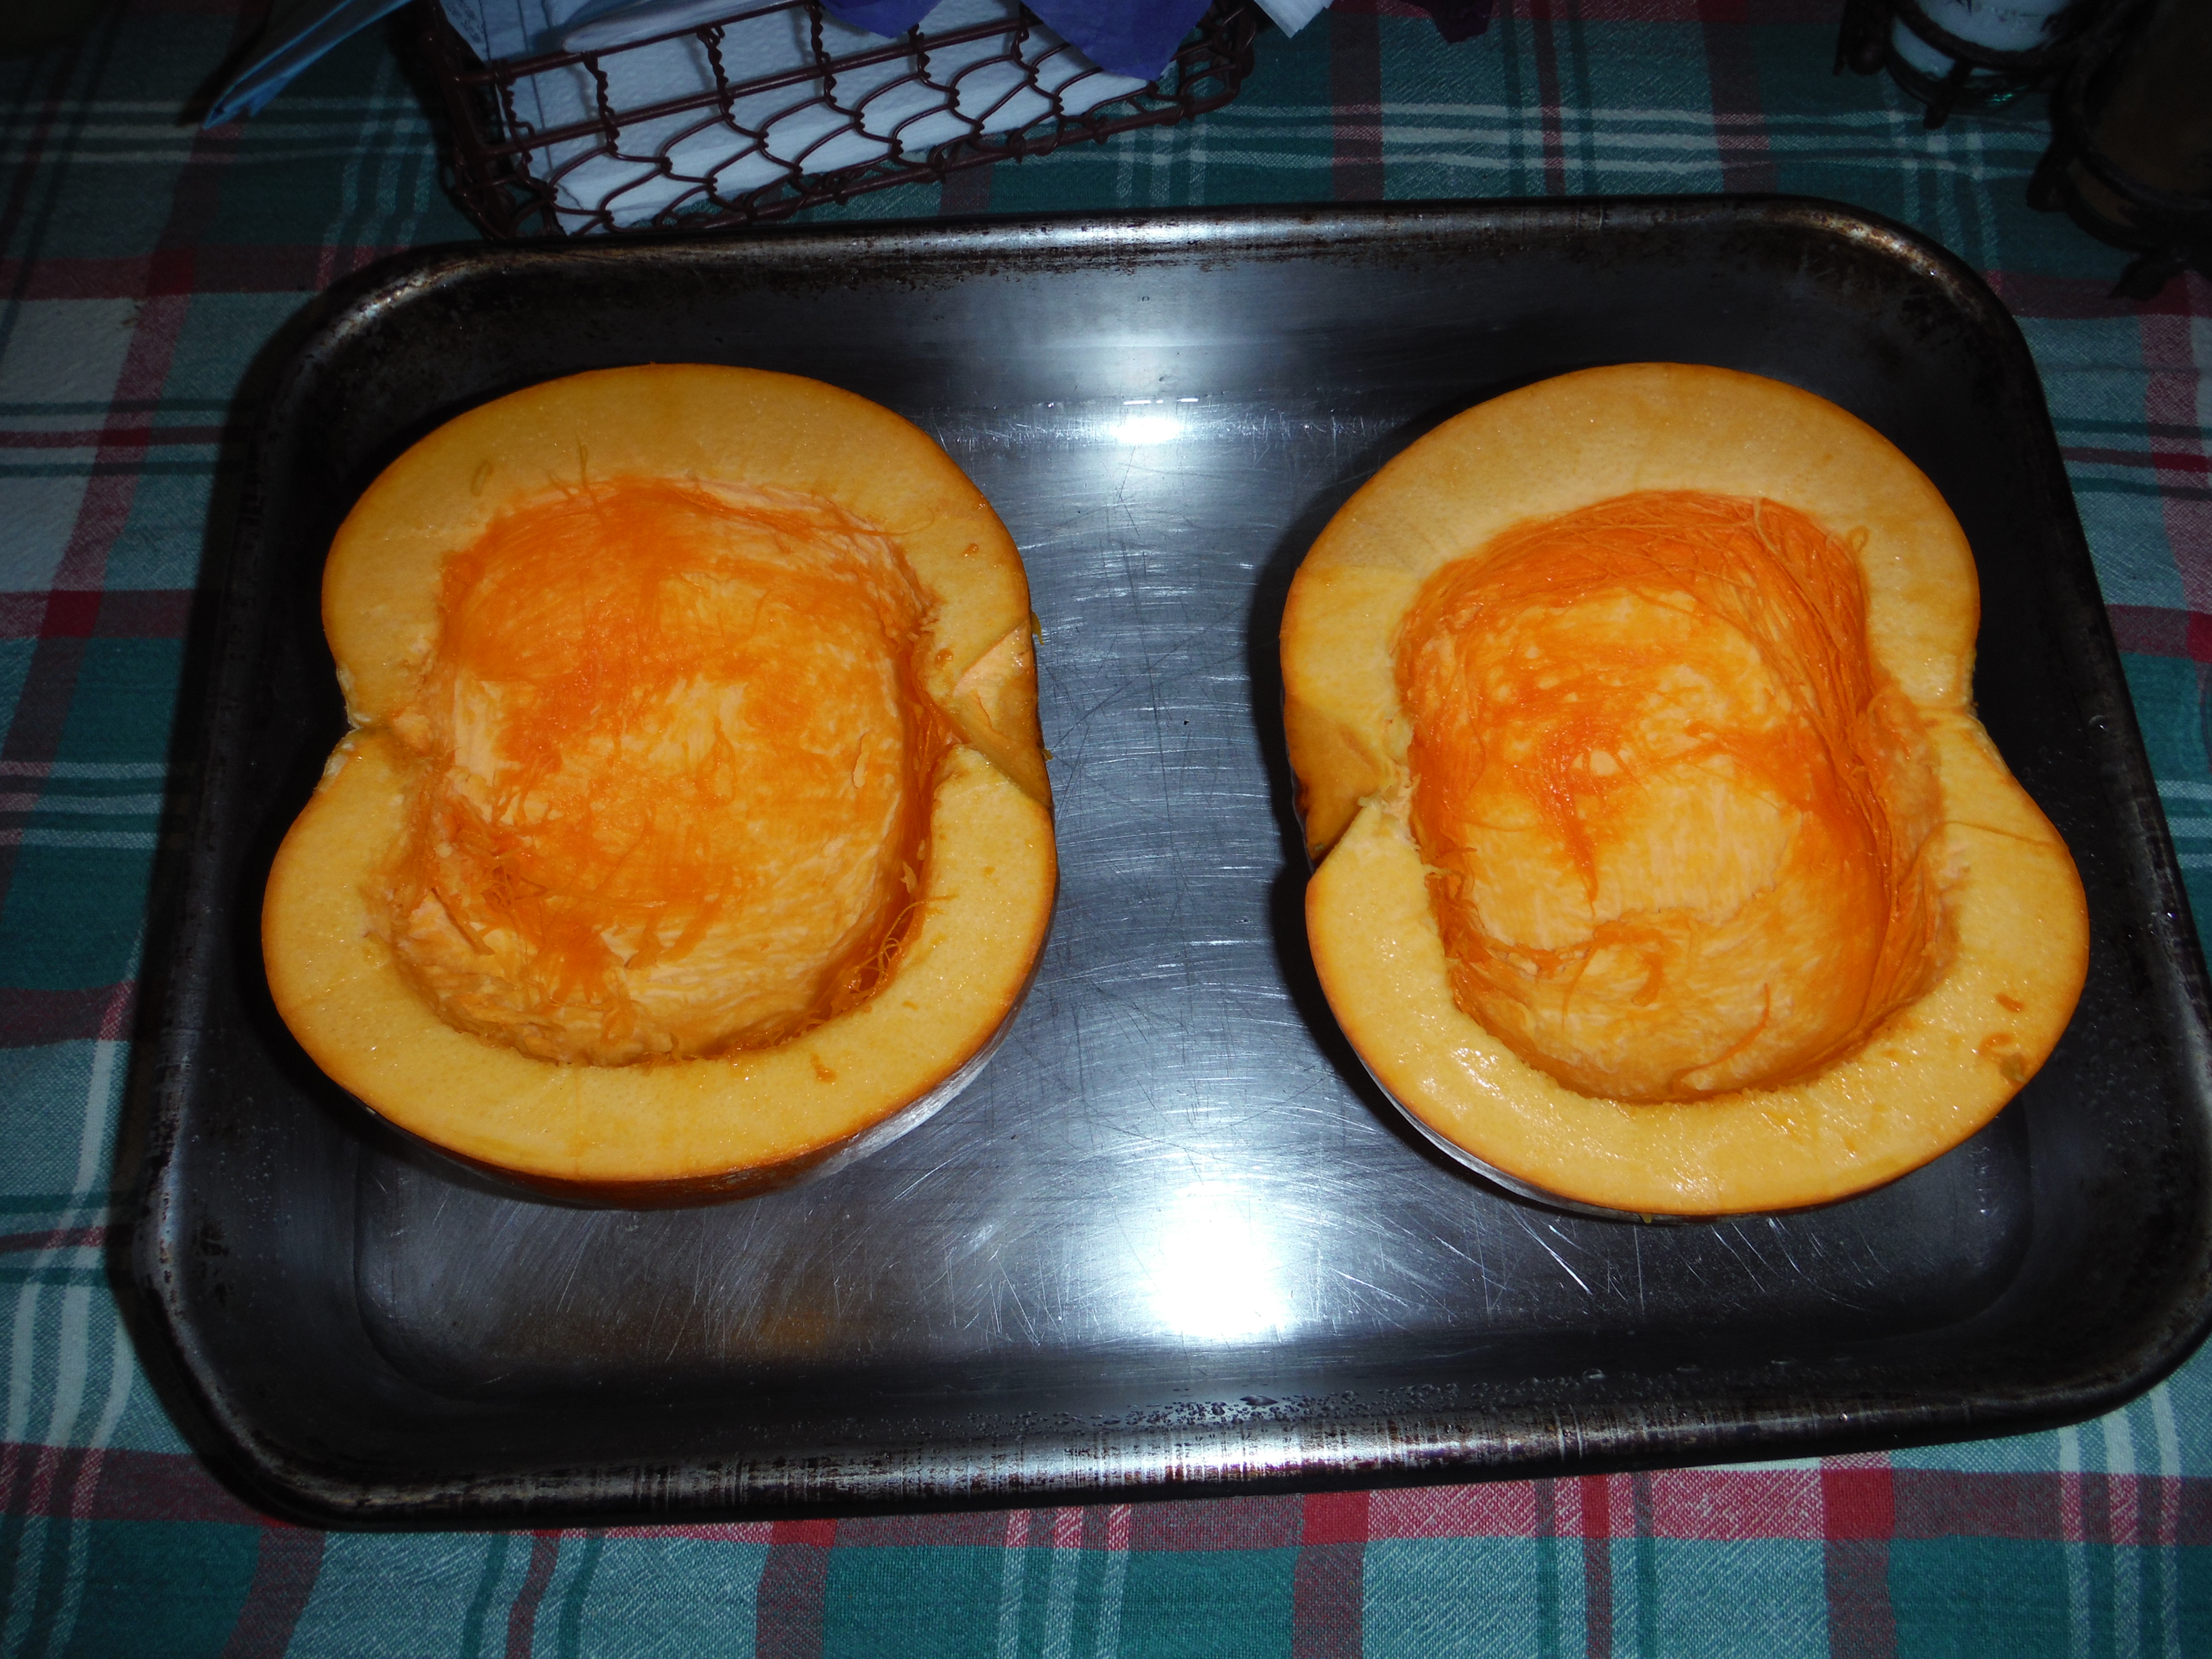
Place your pumpkin halves face up in a roasting pan that has about an inch of water in the bottom.
Cover with aluminum foil and roast in the oven for about 40 minutes, or until the pumpkin flesh is nice and soft.

All tucked in.
Remove foil (carefully! There’ll be steam.) and let pumpkins cool to a handleable temperature. Water will probably have gathered in the pumpkin, so dump that out.

Then scoop out the pumpkin flesh into a bowl.

Pre-pureed
If you have a stick blender you can use that to puree the pumpkin. If not, you can use a blender. You could probably even use a potato masher, but it’d probably take a bit longer to get it really smooth.
This pumpkin puree is going to be more watery than the kind you get in a can. For some uses this won’t really make a difference, but for some recipes it might throw off your proportions. If you want to get rid of some excess moisture, line a sieve with cheese cloth and put the pumpkin puree in that. Cover with more cheese cloth and place a weight, like a can, on top. let this drain for at least a half hour. The longer it drains the drier it will get.

All nice and smooth
One average sized sugar pumpkin yields about 4 cups of pumpkin puree. Stored in an air-tight container in the fridge, this pumpkin puree will last for weeks.
Recipes featuring pumpkin puree:
Roast Pumpkin Slices:
For the slices, once the pumpkin has been cleaned of its guts, cut the pumpkin further into 1 inch slices. Place on a baking sheet, either sprayed with non-stick spray or lined with aluminum foil. Spread olive oil evenly over the pumpkin slices and sprinkle liberally with salt. You could also sprinkle with some cinnamon/cinnamon sugar as well.
Roast uncovered in the oven for about 20 minutes or until the pumpkin is fork tender.
Once it’s cooled down a bit, all that’s left is to eat and enjoy. Since it’s not being pureed you can either leave the skin on, or remove it before serving.

Yummy
So there you have it. One vegetable, one basic process, but endless options!
Posted on December 9, 2014, in Food 101 and tagged easy, Fall, gluten-free, healthy, knowledge is power, pumpkin. Bookmark the permalink. 6 Comments.


I like sugar pumpkins because they have such a pleasant name :)
I like cheese pumpkins because, cheese. :P
Pingback: Thanksgiving Leftovers Week: Savory Pumpkin Spread | The Poor Couple's Food Guide
Pingback: Smoothie Sunday: Pumpkin Peach Smoothie | The Poor Couple's Food Guide
Pingback: Pizza Lab #24: Pumpkin Pulled Chicken Pizza | The Poor Couple's Food Guide
Pingback: PSA: Hold It!! Do NOT Throw Out Your Pumpkins! They’re Literally Food. | The Poor Couple's Food Guide