We Can Do It Better: How To Make Homemade Chicken Fingers
If there is one universally loved menu item I’m willing to bet everyone enjoys, a food so beloved by people from different races, creeds, and backgrounds, one thing we can all agree is just sooooo frigging tasty from the time we’re capable of eating solid food, to the time we’re no longer capable of eating solid food…
Oh man…
It’s chicken fingers. Seriously, everybody likes chicken fingers. You can’t dislike them. They’re perfect. They’re crisp and tasty and moist, have just enough flavor yet go great with a variety of condiments… There’s no reason to not eat them, diet permitting. Okay, so maybe they’re not the healthiest food out there, but as we’ve already established, fried foods aren’t necessarily bad for you so long as you fry them correctly. That’s especially true when you make your own fried foods at home. So, well, why the hell not?

I don’t want to sound too narcissistic, but this recipe is one I’m particularly proud of. I worked on it for almost two full years before deciding it was ready for posting, tweaking it and perfecting it so that it looks and tastes authentic, like something you’d buy at a restaurant. Bizarrely enough this was a lot harder than you’d think. I think because there’s so many different ways to prepare regular chicken cutlets, and chicken fingers sort of evolved out of that dish, there’s a lot of room for argument on how to “properly” prepare chicken fingers. And yes, that sort of could be used as a way to discredit my work, but I’m asking for the benefit of the doubt here, if anything because I just reeeeally frigging love chicken. Take my word for it.
I’ve seen tons and tons of recipes for chicken fingers, with ridiculous processes that call for everything from mixing breadcrumbs with batters, to pouring milk into breading and turning it into a wet sand mixture. Most are a lot of work, and not worth it. This shouldn’t take you longer than an hour to make, which is average dinner prep time in general. My recipe produces fairly light chicken fingers, without a ton of heavy batter/breading on the outside. It won’t make those really chunky/clumpy breadings you see on a lot of the lower quality chicken fingers, and instead is closer to the nice ones you get off the kids menu at fancy restaurants. They’re definitely crunchier than regular chicken cutlets, and have a lot more flavor too.
Chicken Fingers
- 2-3 chicken breasts, cut into strips
- 1 ½ cups flour
- 1 tbsp salt
- 2 tbsp pepper
- 3 tbsp garlic powder
- 2 tsp mustard powder
- 1 tsp cayenne pepper
- 2 tsp paprikaz
- 1/3 cup buttermilk (or 1/3 cup milk mixed with 1 tbsp vinegar)
- 2 eggs
- Vegetable oil, for frying
- Cut and clean the chicken breasts into long, thick strips, or ‘fingers’ if you will.
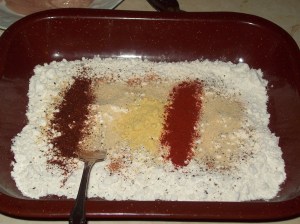
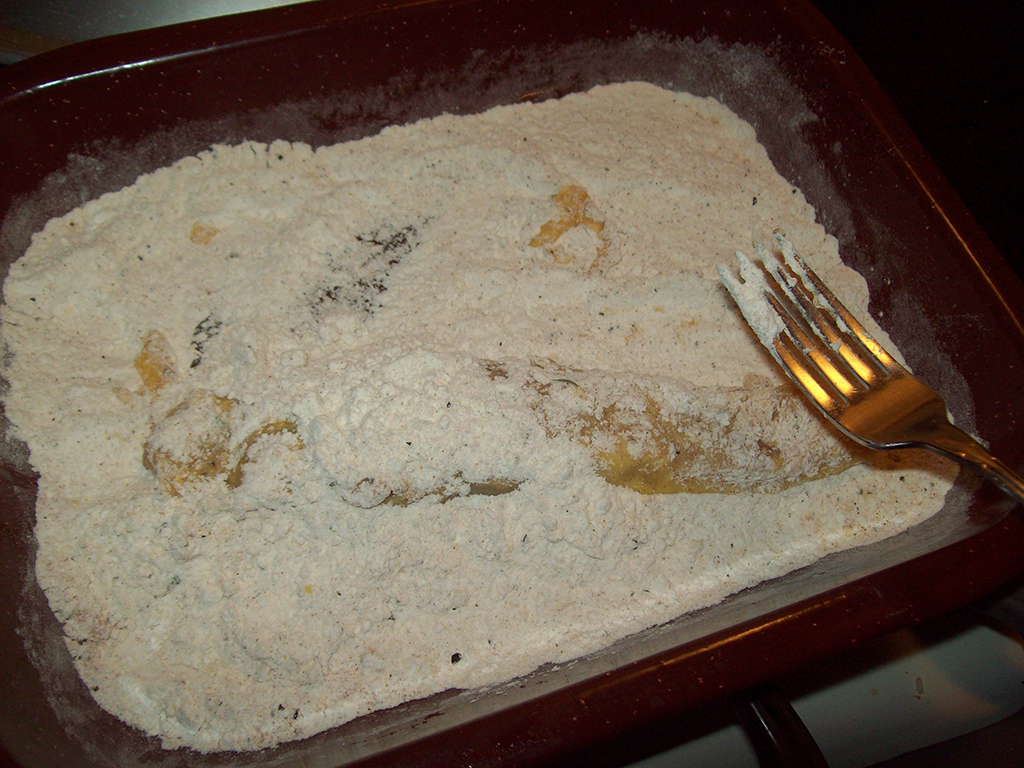
- Add the flour, salt, pepper, garlic and mustard powder, cayenne, and paprika into a large pan or bowl and stir until blended.

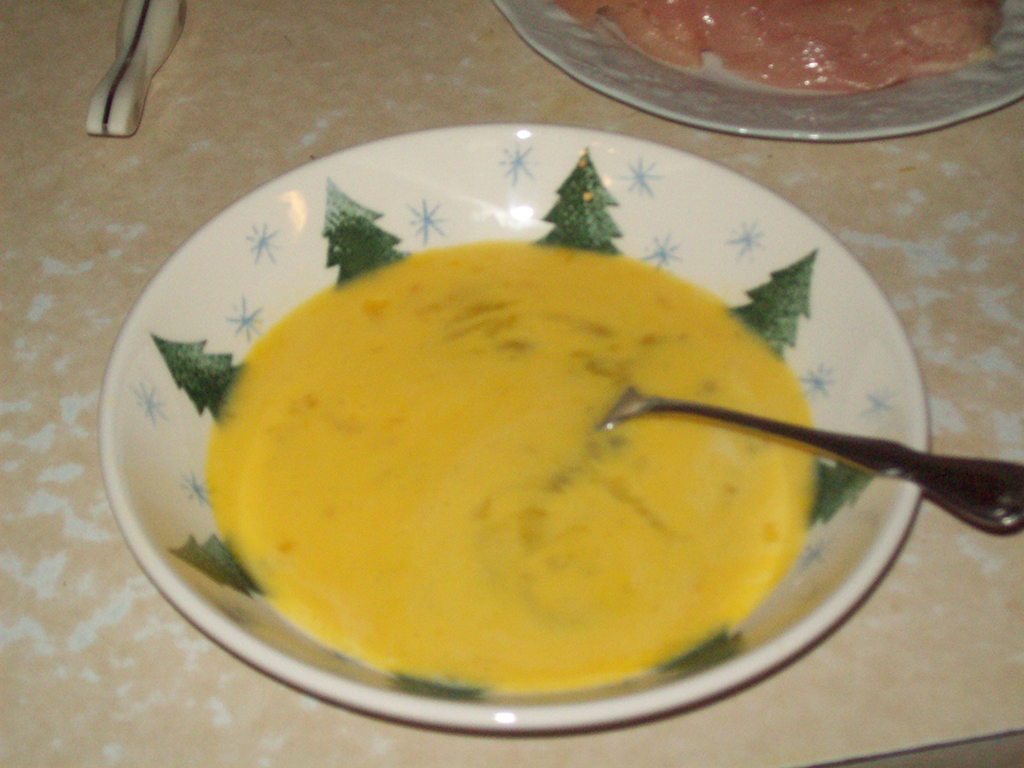
- Whisk the buttermilk and eggs in a separate bowl together until it becomes a pale yellow mixture.

- Pour oil into a large frying pan and begin heating on medium flame.

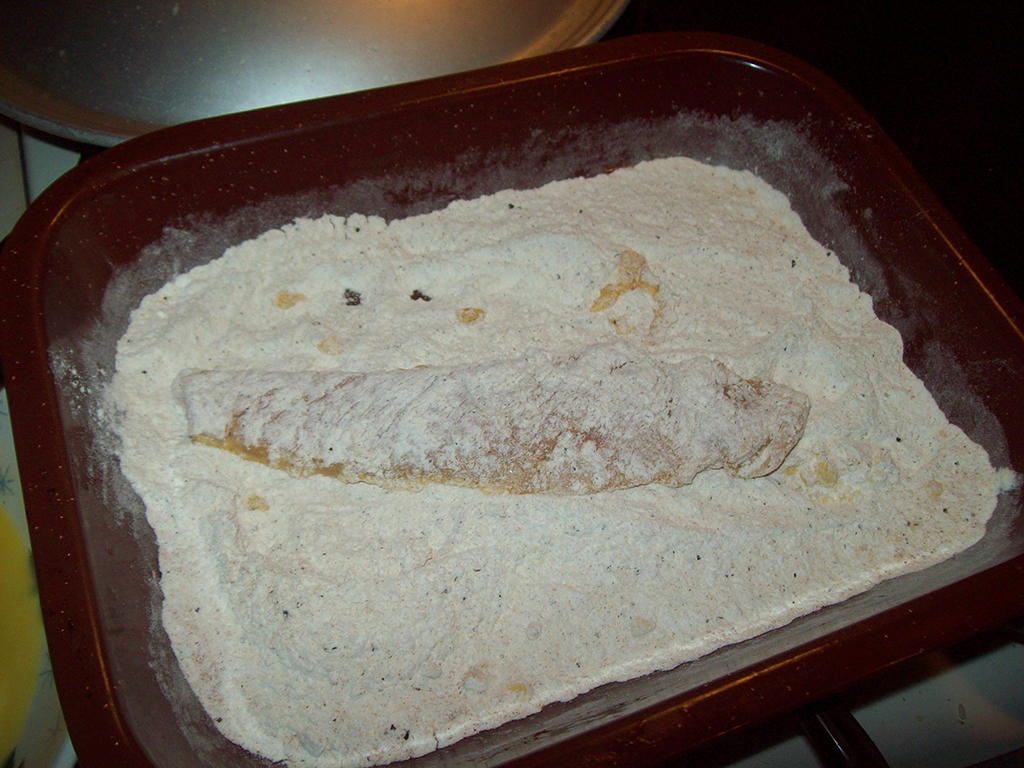
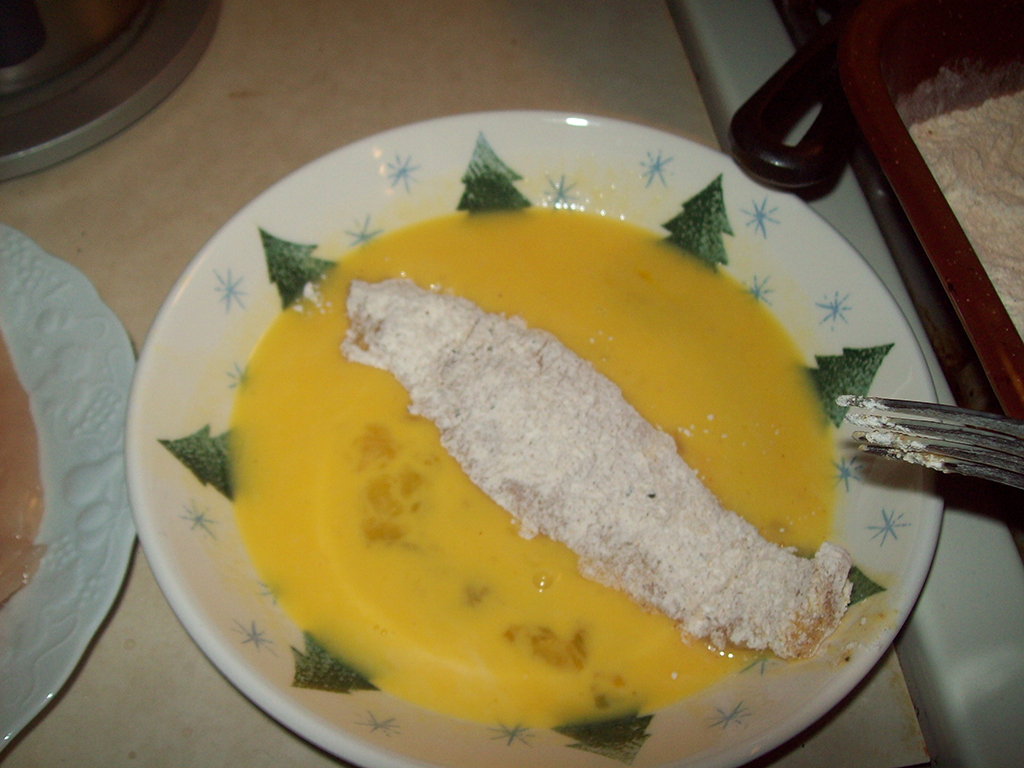
- Begin breading the chicken by placing each strip into the egg mixture, then patting into the flour mixture. After it is coated, return it to the egg mixture again to coat, and bread in a second coating of the flour mixture. Pat it down on all sides so that the breading clings.

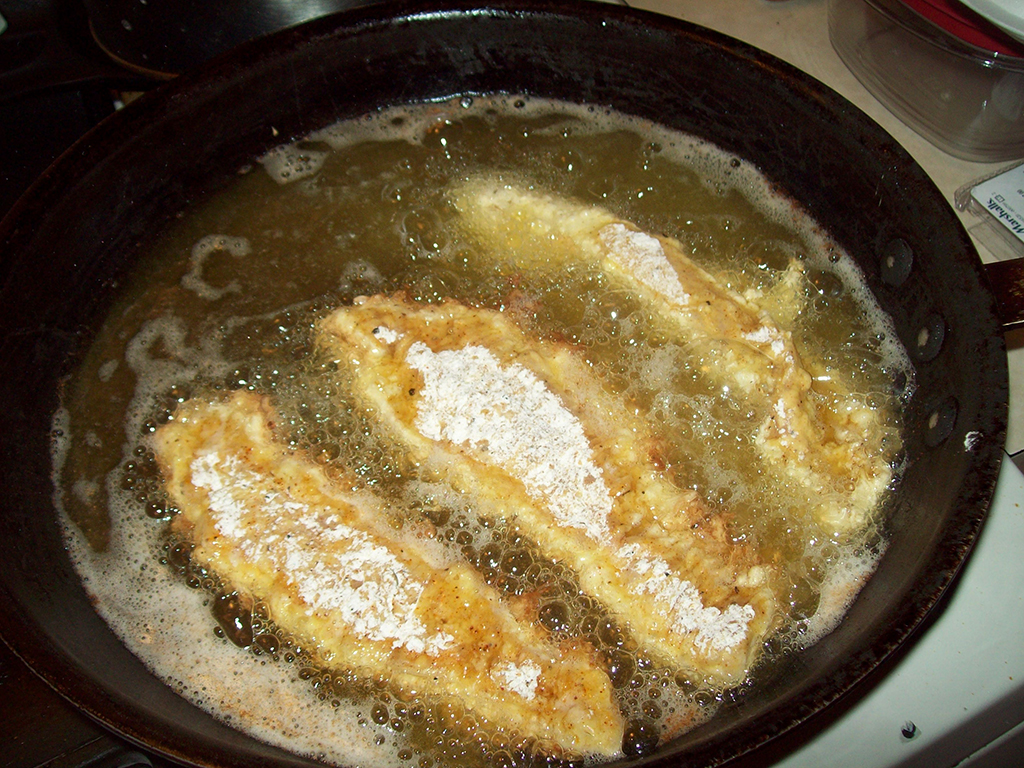
- Raise the oil’s flame to high and add each chicken strip to fry for approx 5-7 minutes until golden brown around the edges.

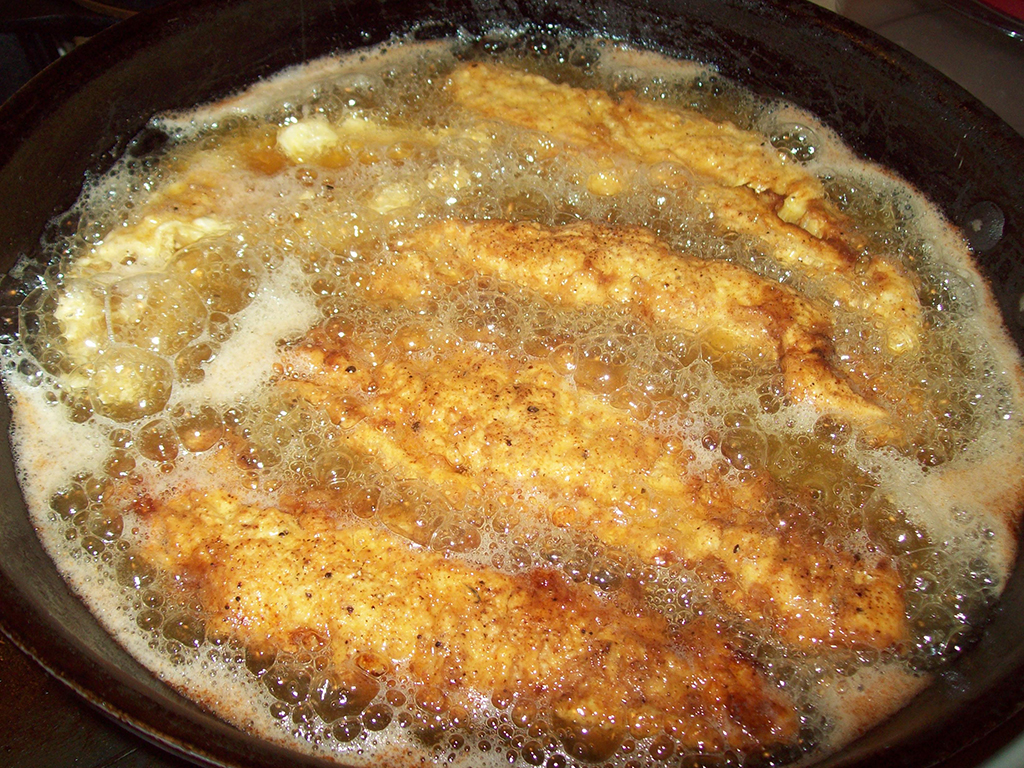
- Flip the chicken over and fry again for another 5 minutes or so, until browned on the bottom. Flip the chicken once more and fry for another 2-3 minutes until the entire chicken finger is golden brown all over.

- Remove each chicken finger and place on either paper towels, or a cooling rack to drain, blotting the excess oil off.

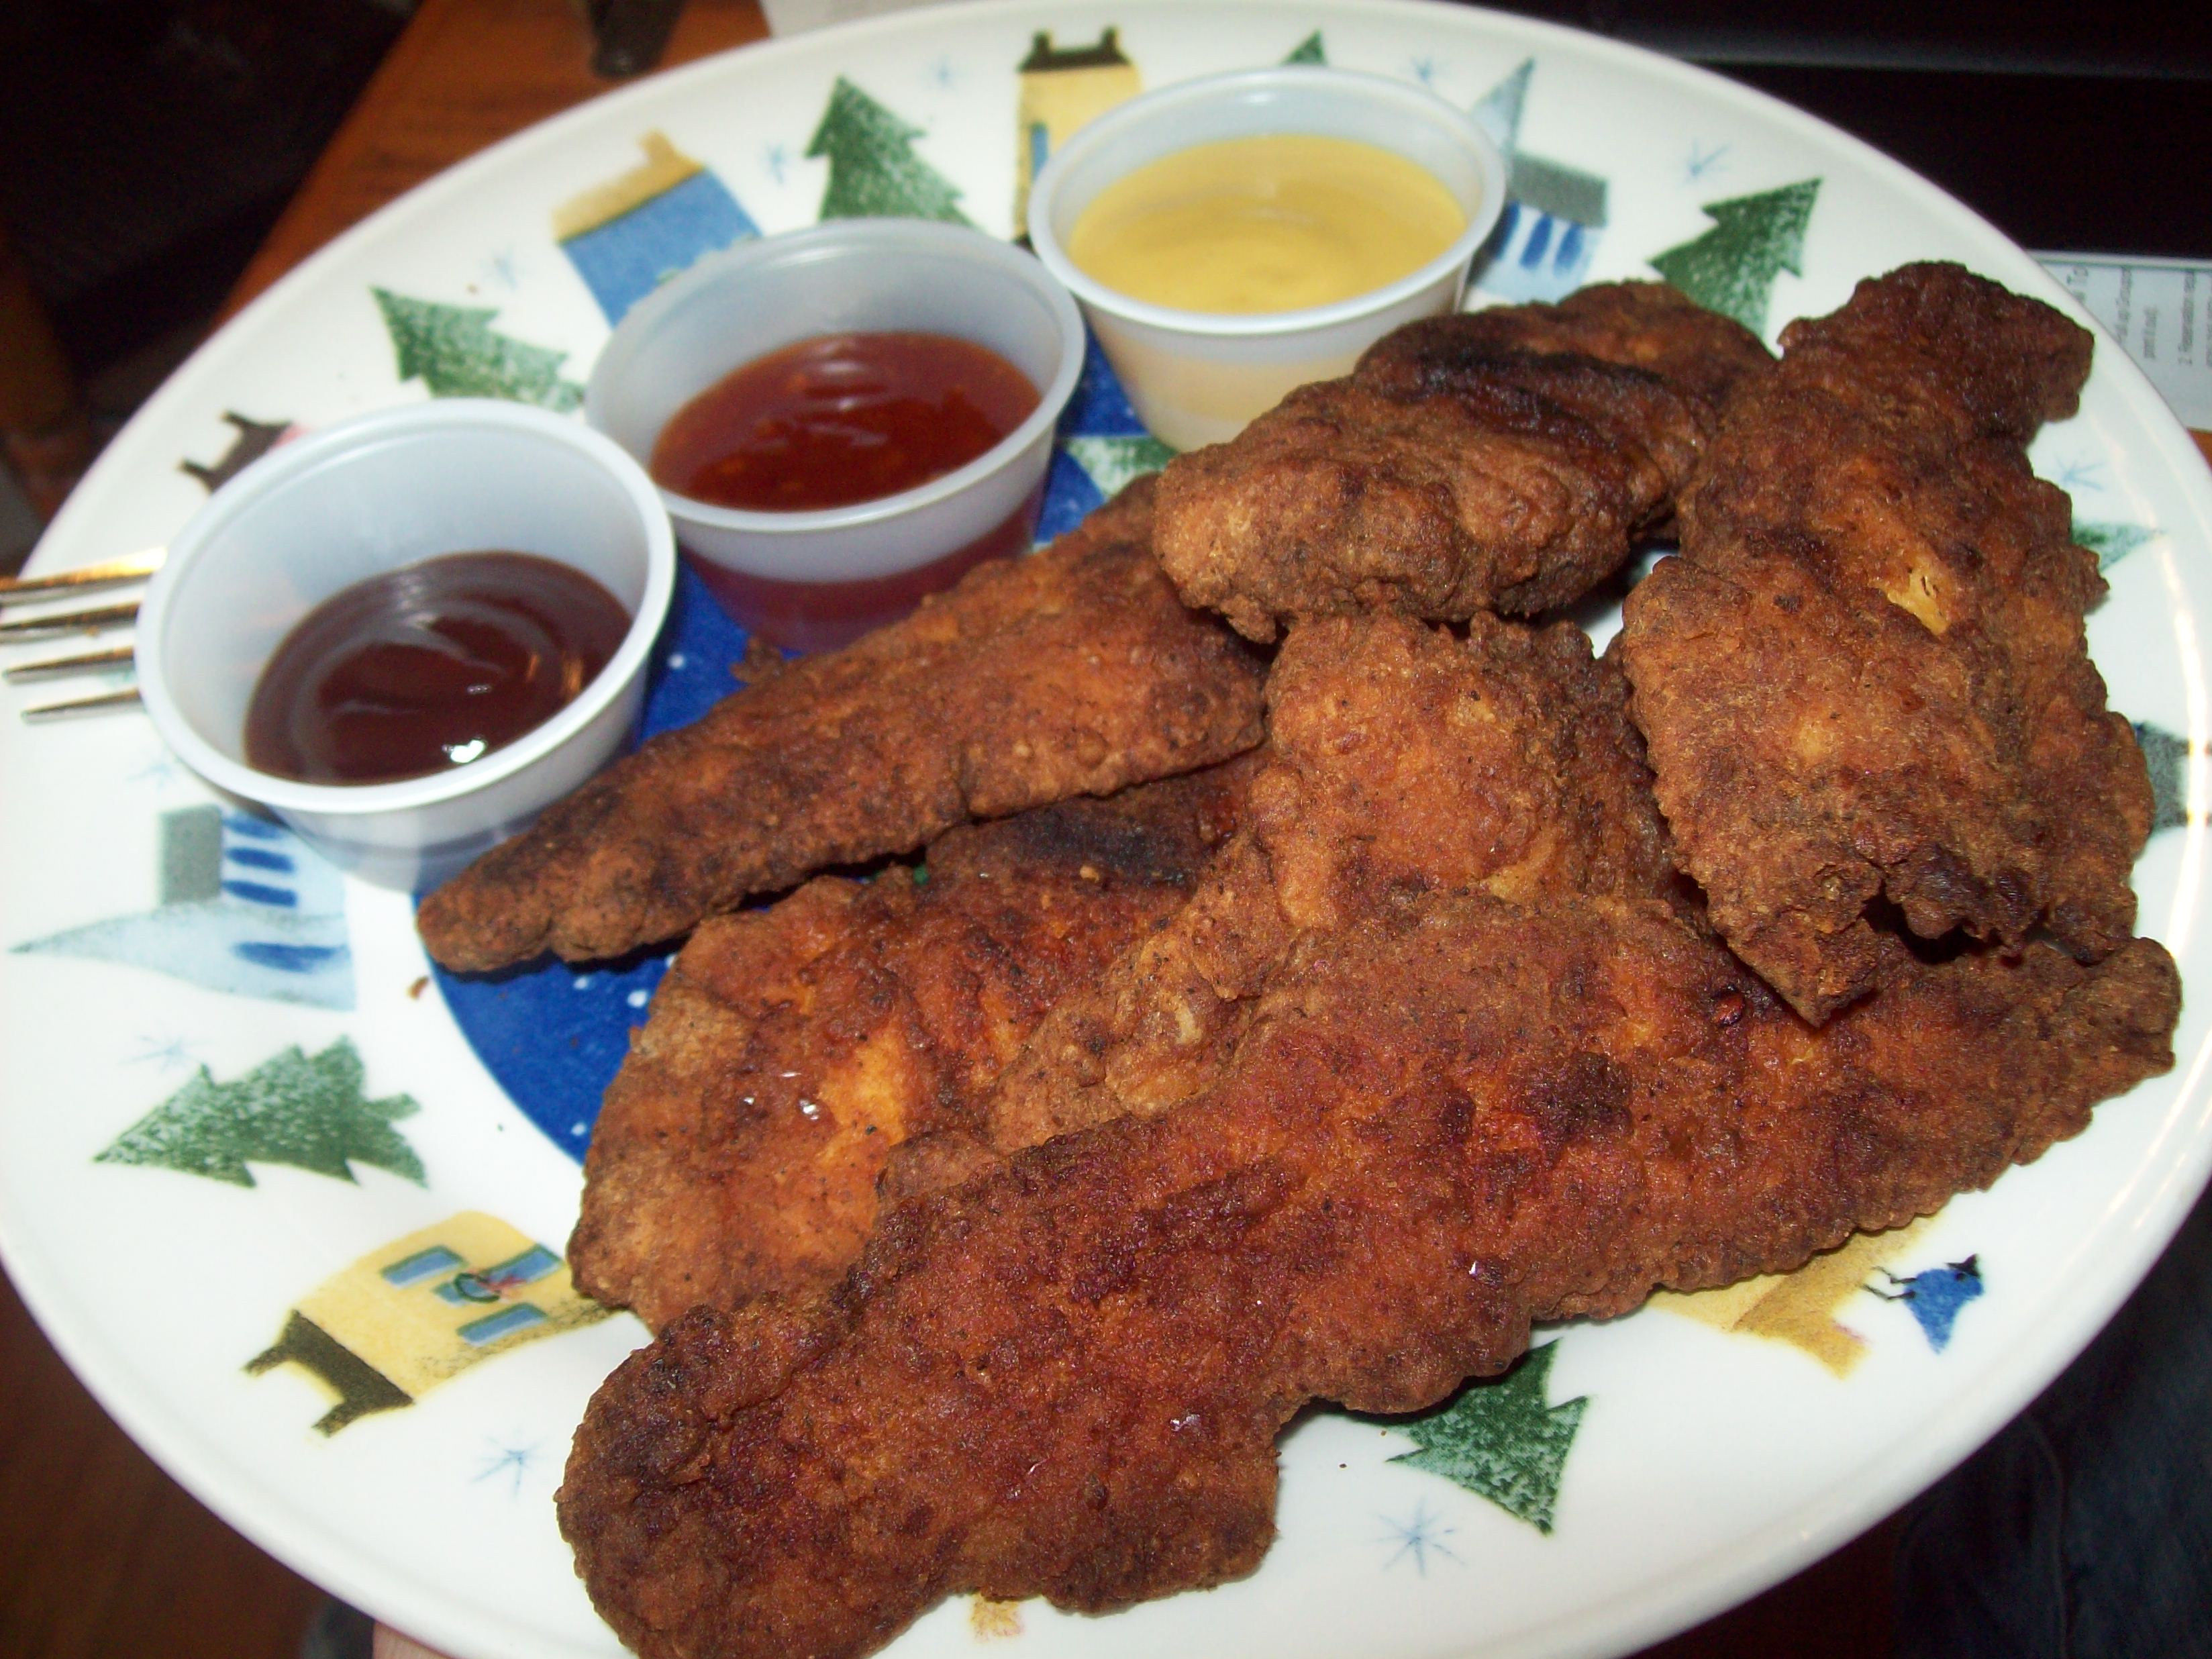
Like I said, these chicken fingers aren’t too labor-intensive, taking no more than an hour. They come in great handy since any leftover ones can be easily heated up to be used in sandwiches, or just eaten on their own days later. And as with all homemade goods, they’ll be quite a bit healthier fried at home since you can ensure they don’t retain much oil from frying. While they’re delicious enough to be eaten on they’re own, come on, they’re chicken fingers. Serve ’em with some condiments like honey mustard or ketchup, it’s the only proper way.
Pro-Tips
- Make sure your oil is hot enough when you start frying. Lower oil temperatures can result in your chicken being more oily and less crispy. Oh and more calories too.
- The best way to heat up leftover chicken fingers is them in the oven at 450º for about 5 minutes, or until they’re crisp again. Don’t bother using a microwave, it’ll only make the breading mushy.
- If you want your chicken fingers to be extra-light, skip the second breading and just fry them after the first breading. They won’t be as crunchy or have as much breading on the outside, but if you want them to be thinner and lighter, that will do it.
Posted on July 27, 2015, in We Can Do It Better and tagged chicken, Delicious, forbidden fruit, recipes. Bookmark the permalink. 4 Comments.


Pingback: Quick Recipe: Chicken Fingers Burrito | The Poor Couple's Food Guide
Pingback: Cheat Codes: Save Your Condiment Containers For A Later Date! | The Poor Couple's Food Guide
Pingback: Pizza Lab #38: Chicken & Waffles Pizza | The Poor Couple's Food Guide
Pingback: Super Bowl Snack Round-Up | The Poor Couple's Food Guide