Cheat Codes: How To Dry Your Own Herbs
Some people say variety is the spice of life. So I guess that makes spices the spice of food? However you wanna look at it, there’s no denying the important of herbs and spices in cooking. Without them, your flavor options would be pretty limited to really bland combinations of salt, cream, and plain vegetables/fruits. Virtually every recipe calls for herbs thrown in for that extra flavor mile. The only problem with these culinary truths is that buying herbs isn’t always cheap or convenient. We’ve already discussed growing your own herbs at home a long time ago on PCFG, but what if you want to hang onto those herbs all year round? Potted herbs are great, but sometimes it’s a pain to bring them inside over the Winter, and beyond that sometimes you just need to heartbreakingly say goodbye when a good herb plant simply dies in the cold. Big name spice companies dry their herbs and bottle them for sale, obviously. They probably use some sort of space-age water neutralization mega oven science shit. No one could do that at home, right? Believe it or not, actually yeah you can. And it’s pretty easy. Probably 90% of the process involves literally doing nothing, so it’s totally possible to dry herbs at home even if you’re super lazy. The first question you’ll probably ask is “What type of herbs are good for drying?” The short answer is pretty much all of them. The thinner and dryer an herb is from the start, the better. Some perennial favorites I’ve done include rosemary, sage, chives, mint, and basil. Honestly though most herbs can easily be dried out in your house with nothing more than air and string. There’s expensive dehydrator machines you can buy to do this overnight, but they’re, well, expensive. If you want some dried herbs and you have some patience, you can do it for basically free. For this post I’ll demonstrate using some chives.
What You Need
- Herbs
- String
- Scissors
- Bowl
- Jar
First things first, try to leave the leaves as intact as possible. Don’t start snipping or cutting stuff up since you’ll lose a lot of the essential oils found in the herb by doing this. If it’s an herb that grows on stems like rosemary or sage, just chop a whole stem off and leave all the leaves on. If it’s a self-contained whole herb that you’ll use all of (in this case chives), then just leave them as long as possible. As a precaution, you should definitely wash your herbs off. I generally don’t bother doing this when I’m using fresh herbs straight from the plant into a dish since anything on the leaves will cook off, but for drying you want to make sure they’re clean since residual bacteria/bugs/etc can obviously lead to problems on something that will be left to wither and grow stagnant for weeks. Using barely hot water, enough to be hot but not enough to scald or cook the herbs, rinse all the leaves off thoroughly. Place them in a shallow layer onto a towel or paper towel and press. You want to squeeze out as much water as possible without damage the leaves.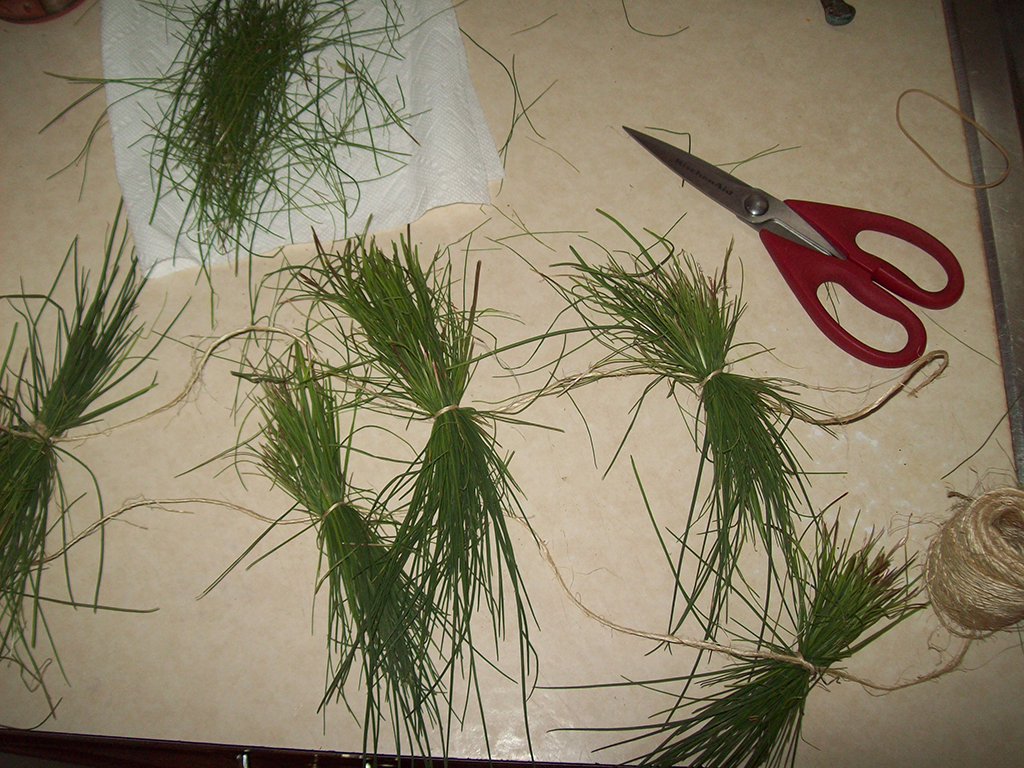 Once your herbs are clean, sort them into equal sized bunches. You can make them as small as you want, but obviously that’s gonna take longer. Take some string and tie a nice, tight knot around each bundle. Make sure it’s secure with a double knot or some fancy Boy Scouts kinda crap, since you don’t want them falling out during the drying process. You can keep the string as one long chain, or cut separate ones, as long as each tie of herbs can hang freely in the air. The herbs should be hung somewhere dry, where they won’t be exposed to humidity. If you have a dry basement, that works great. A window in direct sunlight also works well since the sun will sort of bake them a little each day. Obviously, you also want them to be somewhere they won’t be disturbed or knocked over, so avoid high traffic areas.
 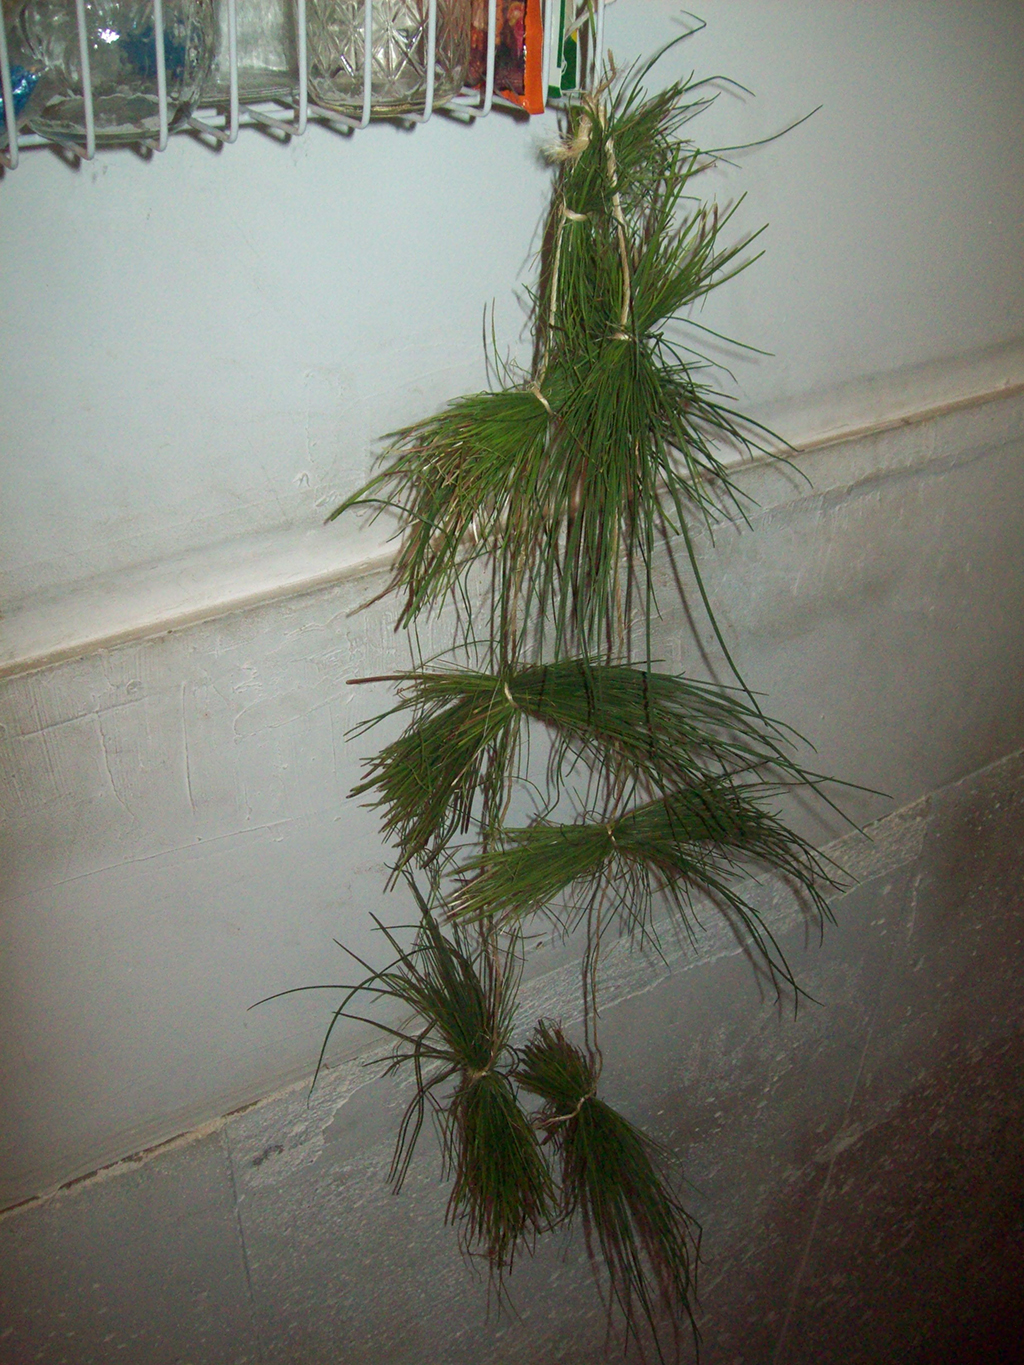 Simply hang the herbs from something that will allow them to hang freely. Try to avoid clumping them up on top of or right next to each other since that slows down the drying time. At this point, you basically do nothing. Yup. You don’t need to touch or disturb them for a couple of weeks now. Just once every few days inspect them to make sure there’s no mold growing on them. Give them a sniff to make sure everything is alright and nothing’s going bad.
 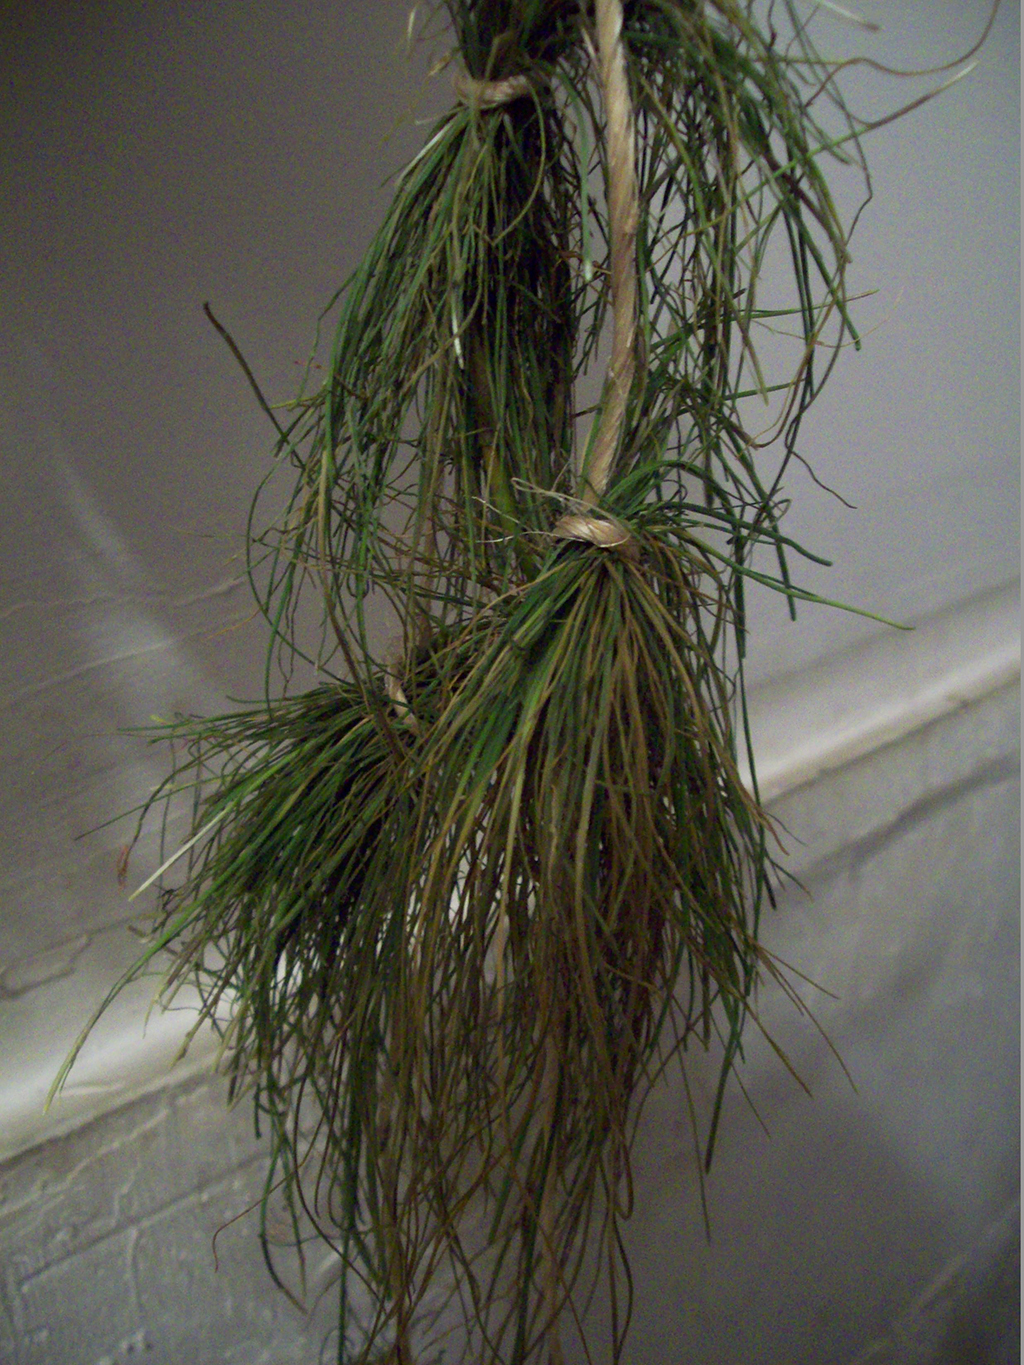 Depending on the herb, they’ll take anywhere from 2-4 weeks to dry completely. Once they’re fully dried out, they’re done. There’s no science to it, either. Just check them out and feel them. If they crumble into pieces like dried herb, then they’re done and ready to be chopped.
 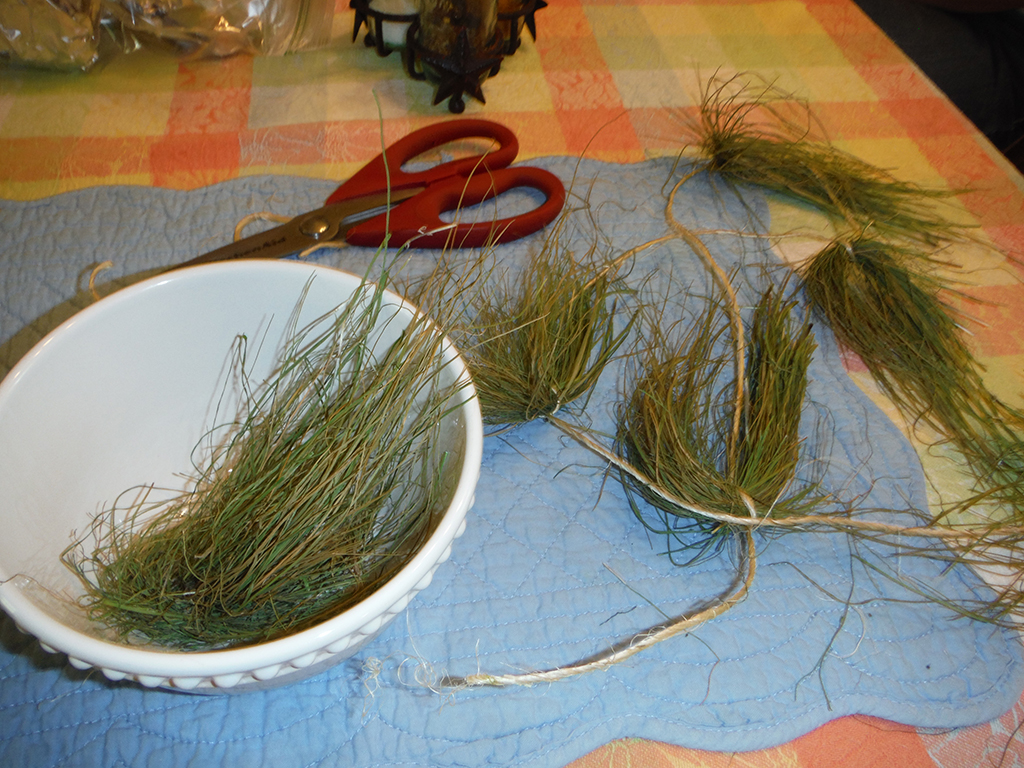 This part is the only one that actually involves work, unfortunately. But hey, you did nothing to them for weeks. You’d have to put some effort in eventually. Start off by cutting the strings apart to free each bundle. Once again, inspect to make sure nothing went bad or turned extra brown since now’s your last chance to look for that. If everything looks good you can begin chopping. You can use kitchen shears, a knife, or even just your hands. Chop/cut/crumble all the herbs into your large bowl to catch everything.
  Once they’re all chopped up, that’s it, you’re done! Just transfer everything from the bowl into a glass jar or container which seals tightly. A good idea I like doing is to save old canisters from store-bought herbs and spices, and just toss them in there. Like store-bought herbs, these will keep good for a looong time. Use them in cooking or just as a garnish, it doesn’t matter. Grown and dried at home, they’ll taste way more potent in your dishes. Easy, effortless, and free. Doesn’t get any better than that.
Posted on June 4, 2015, in Cheat Codes and tagged blast from the past, easy, gluten-free, herbs, On the cheap, smells, vegetarian. Bookmark the permalink. Leave a comment.


Leave a comment
Comments 0