How To Dye Easter Eggs Naturally
Easter is supposed to be a time of rebirth and rejuvenation. It’s also a time of year when people dole out copious amounts of chocolate and sugar to kids to celebrate a carpenter coming back from the dead 2000 years ago. I don’t see the connection. Nonetheless, Easter is a pleasant holiday and important day for both Christians and worshipers of the Easter Bunny. Perhaps the most common tradition is dyeing eggs. Most people do so using the preset color kits you buy from the grocery store which range from simple color tabs that cost a handful of pocket change, to elaborate setups involving paintbrushes, stickers, foil and other craft standbys. Most if not all of these kits use artificial dyes that are effective, but are made in gigantic factories from chemical compounds and broken dreams. Hell, red dyes are barely existent nowadays on account of the fact they just straight up caused cancer. Never fear however, as there are certainly natural alternatives to cancer eggs! And by alternative I mean the way people dyed eggs for centuries until being replaced with harsh dyes.

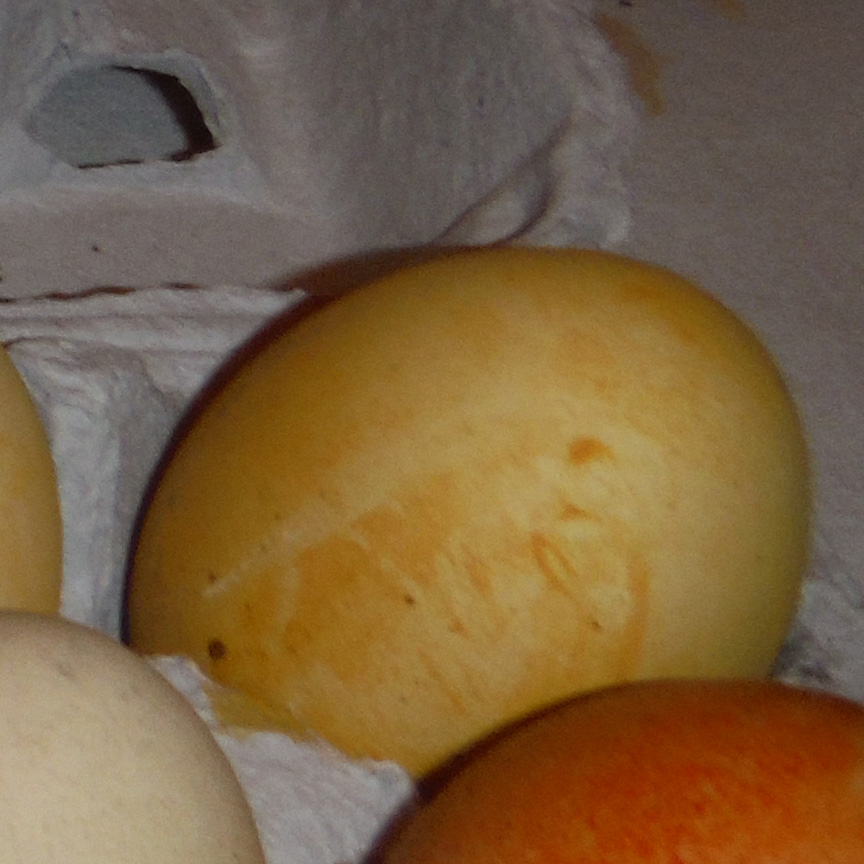
Made with local, farm-fresh eggs. Organic god-tier status achieved.
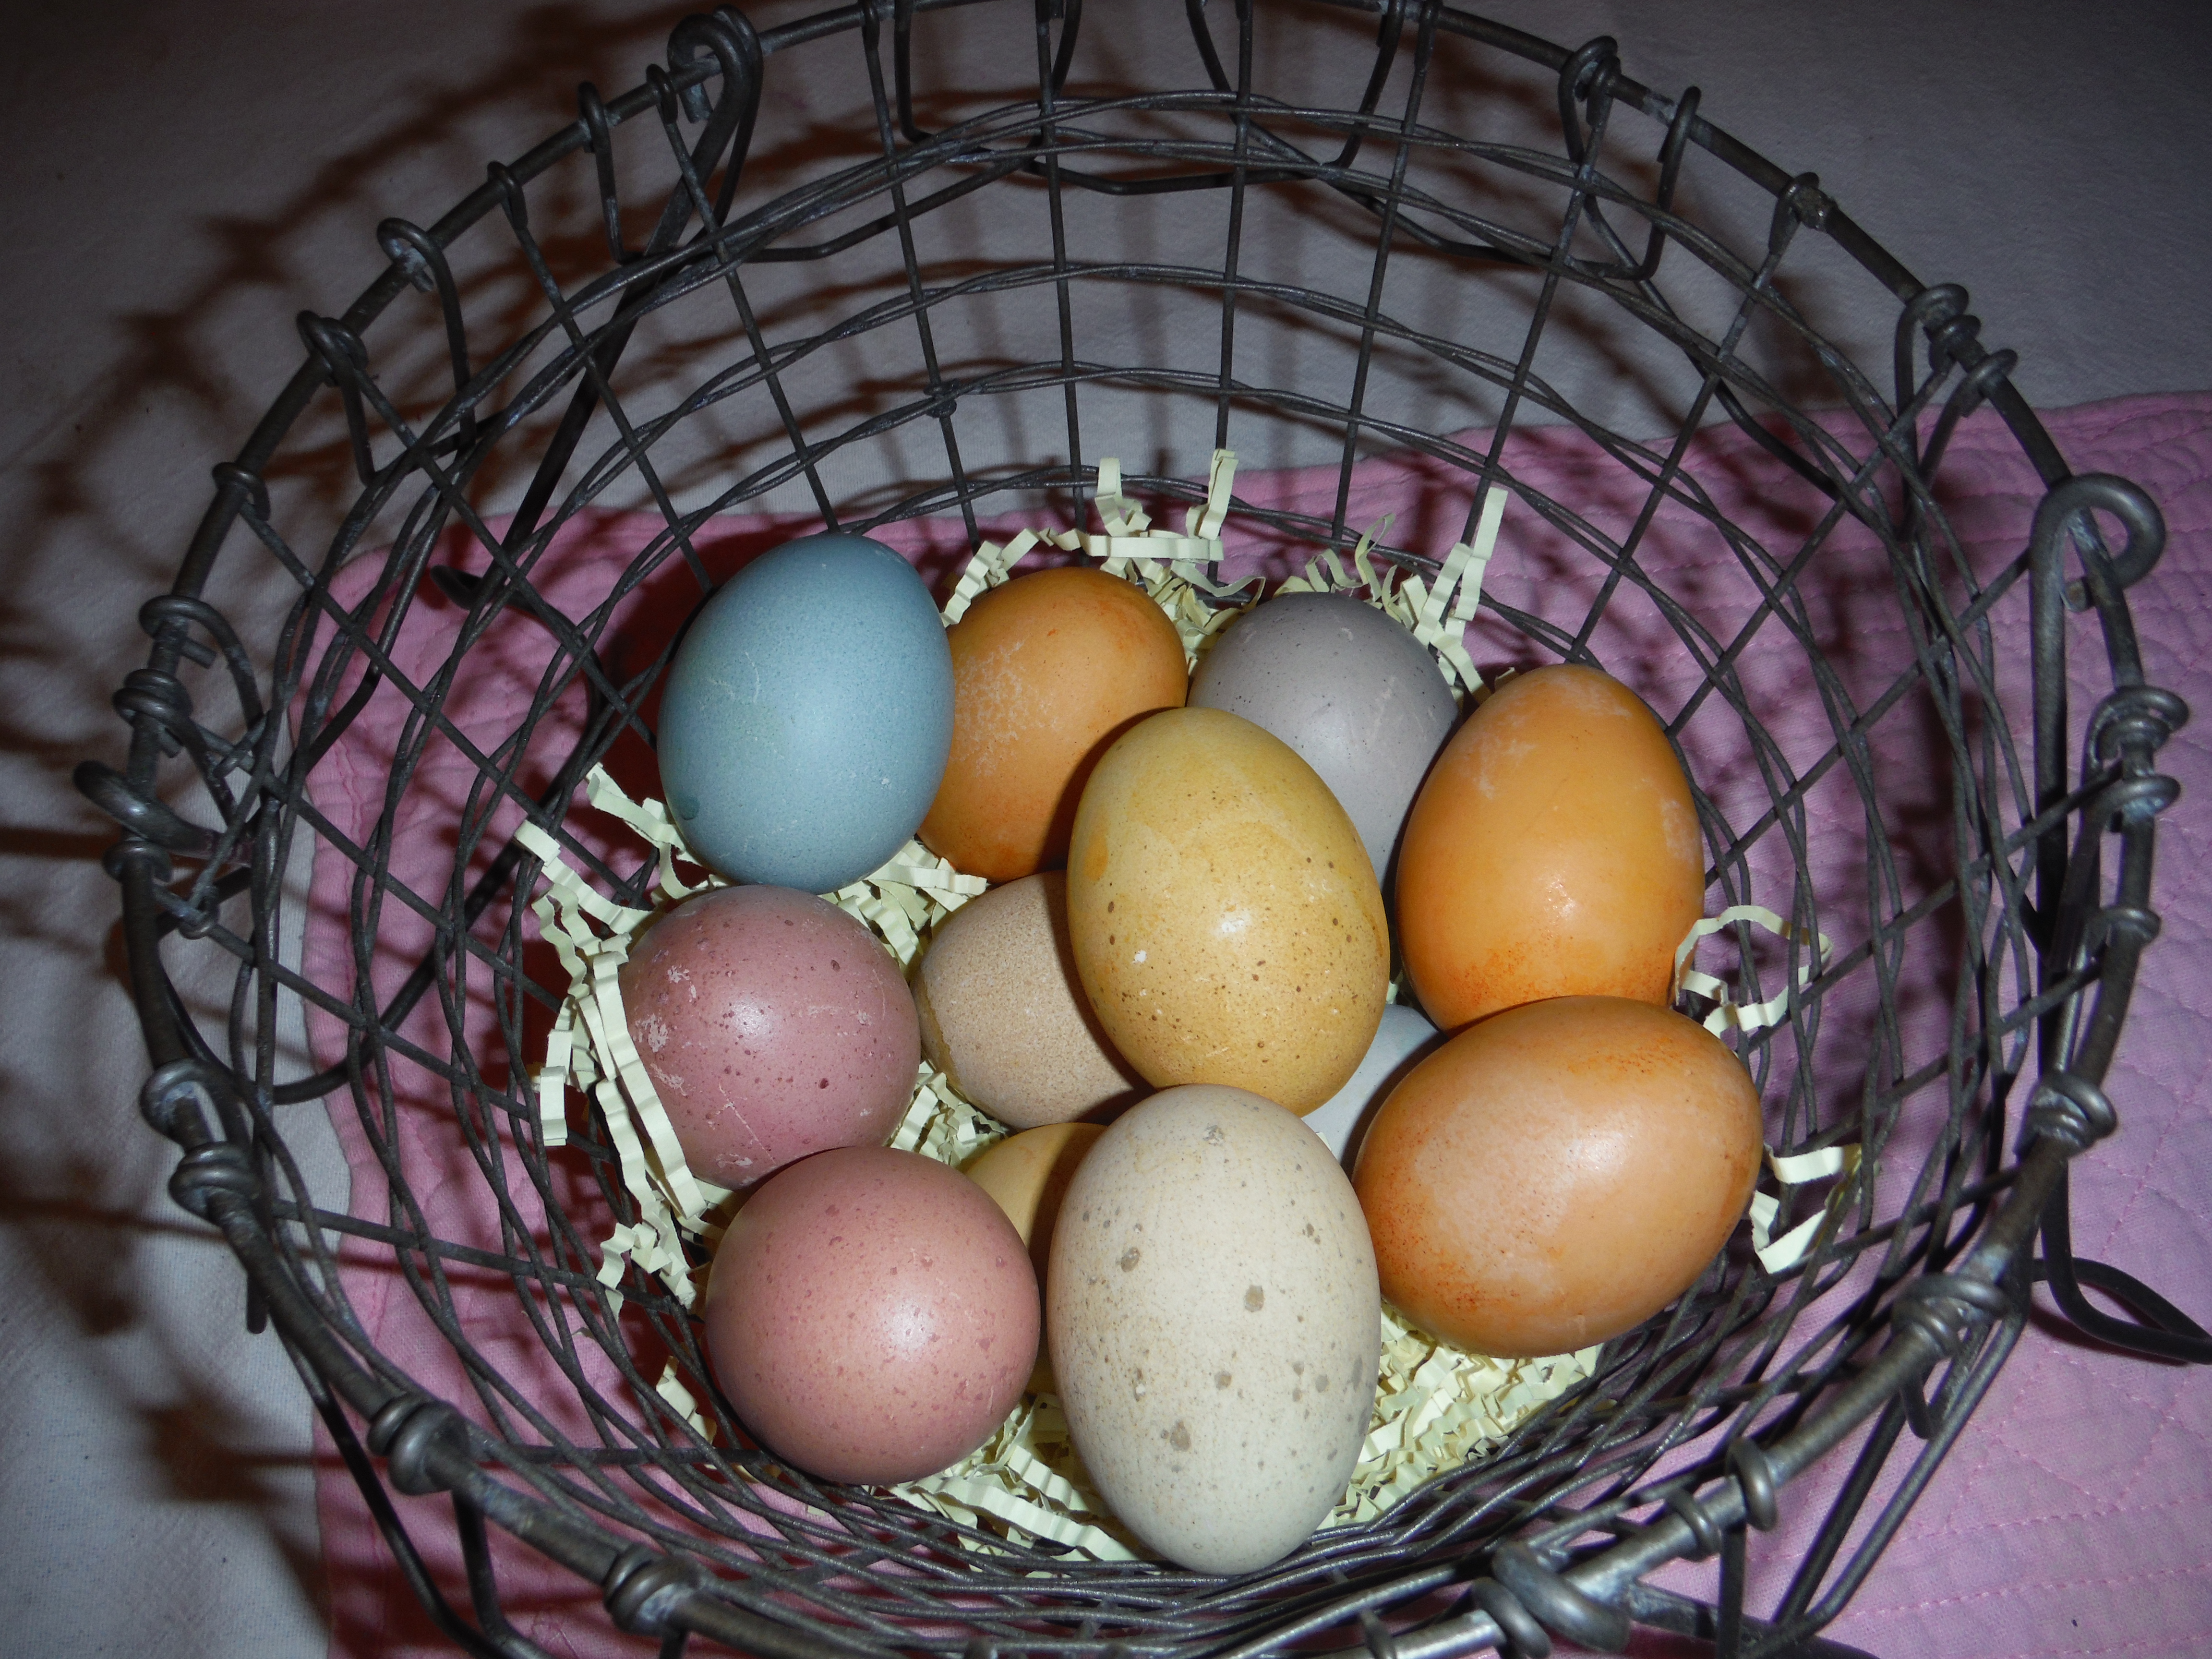
Dyeing your eggs naturally may be a little bit more time consuming than using the premade kits, however at the risk of sounding pretentious it’s way more rewarding, and as an added bonus you can actually eat the foods you use to create your natural dyes. On top of all this, the eggs end up looking nicer due to their subtle, earthy hues. To be honest, our finished product ended looking like decorative, wooden eggs you’d buy at a craft store.

The process isn’t that much work, it just takes longer, is all. You’re going to be making each individual dye separately, almost like cooking a bunch of small individual dishes. To make your eggs, you’ll need the following…

Organic Easter Eggs
Equipment
- Five individual cups for dyes (one for each color)
- Three medium cooking pots
- Tea Kettle
- Spoons/Egg-dippers
Foodstuffs
- At least one dozen hard-boiled eggs
- 1/4 head red cabbage, chopped
- 1 cup fresh, chopped spinach
- 1 can of beets in juice
- 2 tbsp paprika
- 2 tbps turmeric
- White Vinegar (divided)
- Water (divided)
Each individual dye is created by boiling water and vinegar, then adding in the respective food to it to cook for 10 minutes. Following the cooking process, you should let the dye sit and cool to room temperature before straining the foodstuff out of the liquid dye. You can then save it and refrigerate to be eaten later! Once your dye cools, you can transfer it to smaller cups where you can dye eggs in them.

Four stove burners = hot kitchen
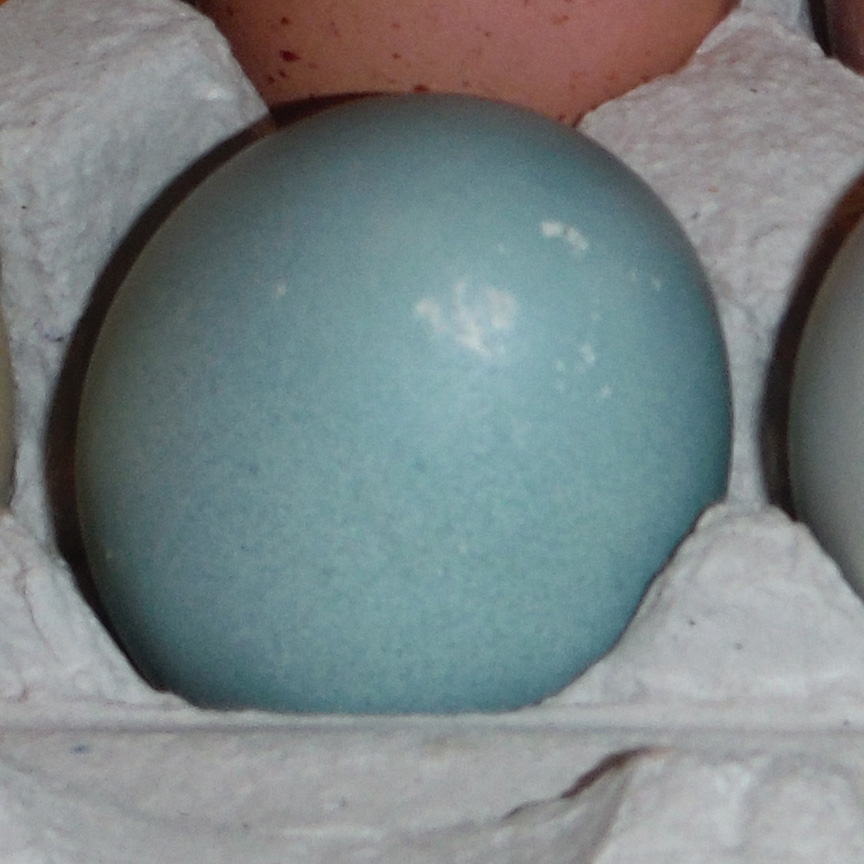
Blue
- 1/4 head red cabbage
- 4 cups water
- 2 tbsp vinegar
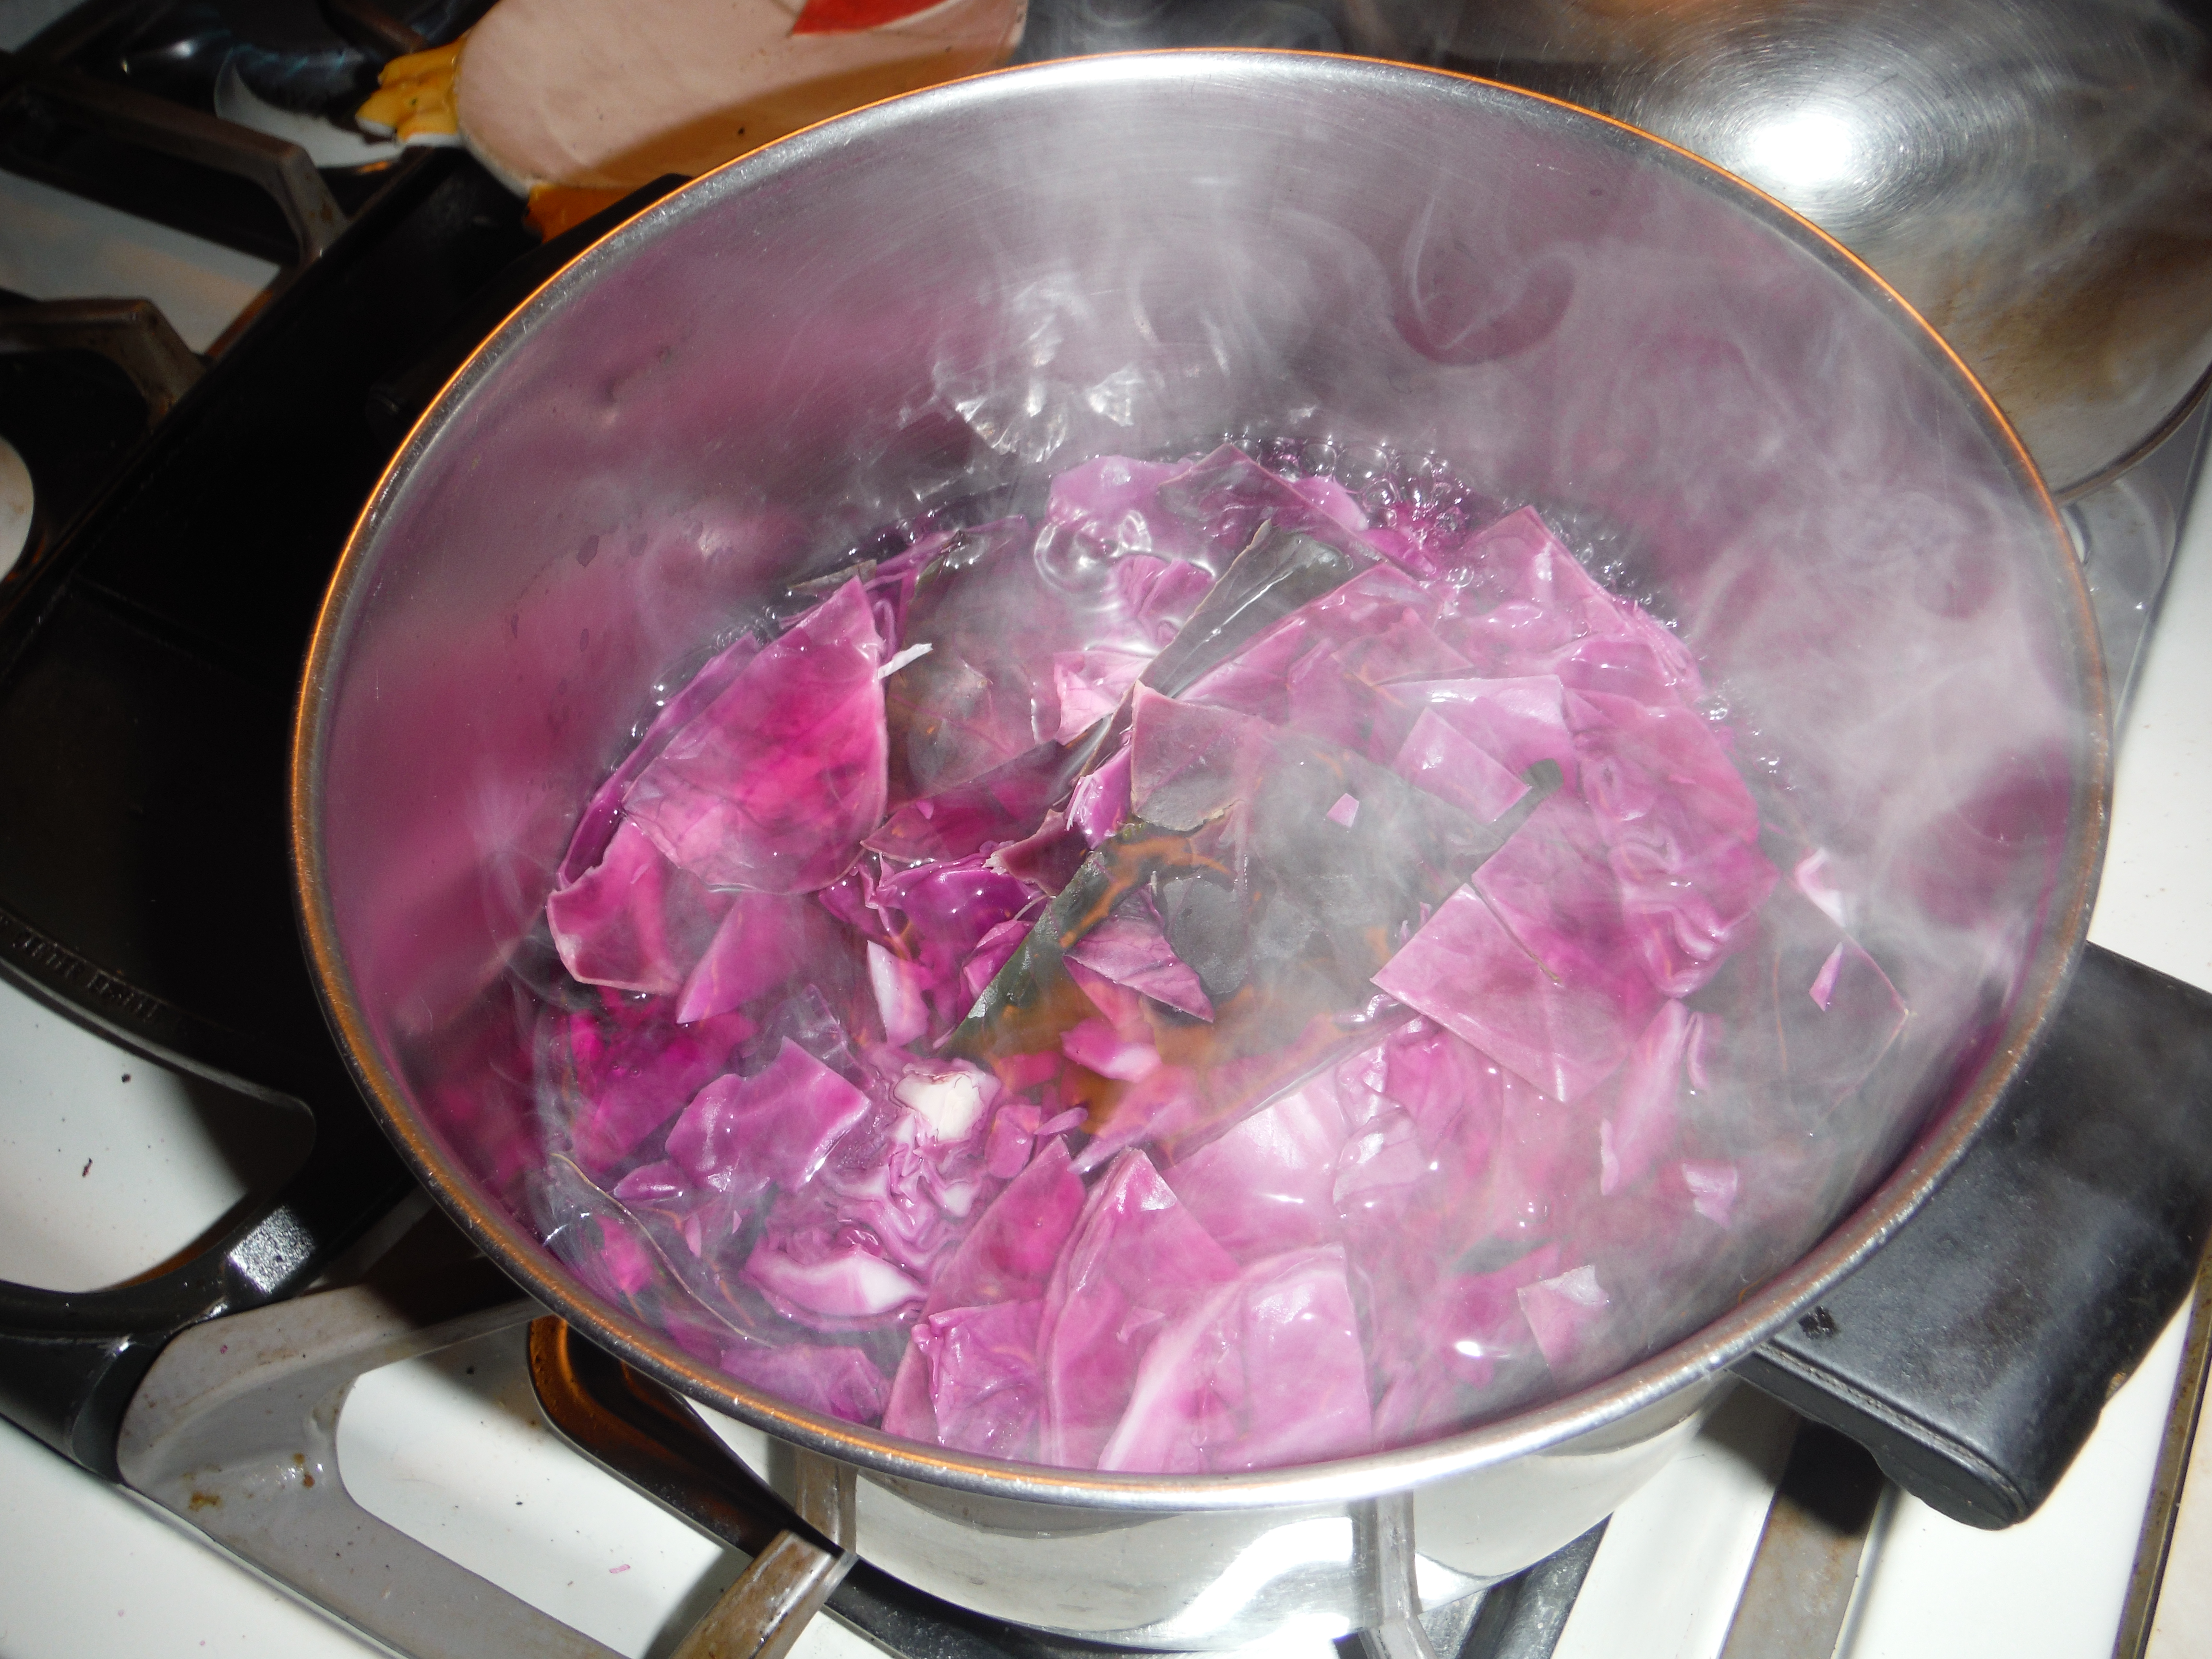 Surprisingly enough, despite creating a purple dye, the cabbage produces blue eggs that range from greyish-blue to robin’s egg.
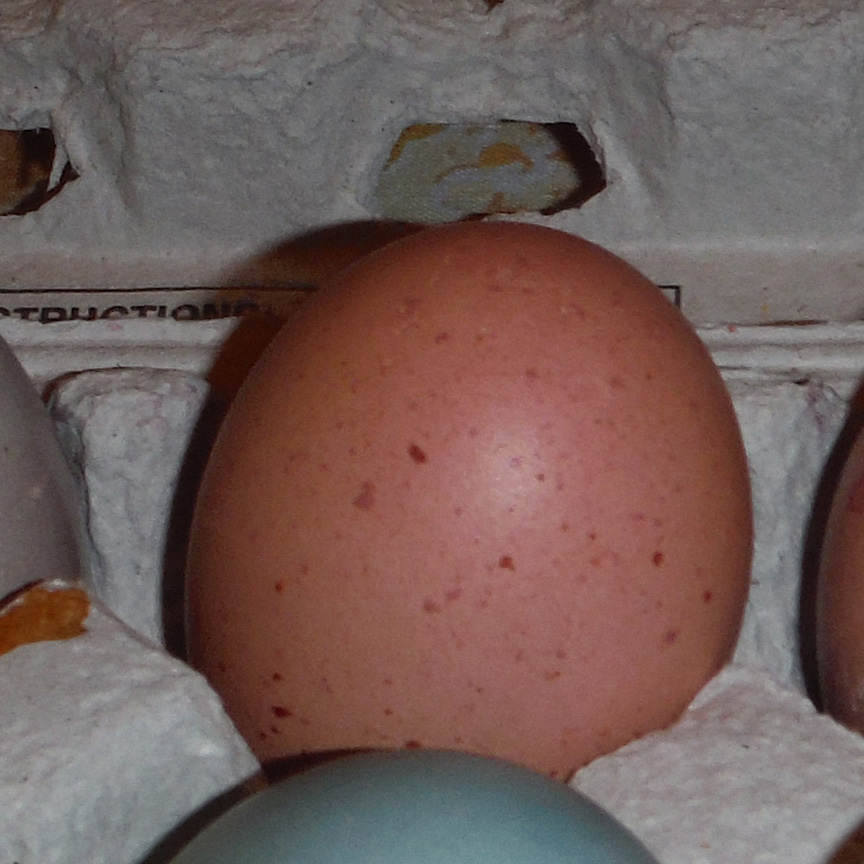
Pink
- 1 can beets
- 2 cups water
- 2 tbsp vinegar
 Beets are the easiest of the dyes since all you need to do is open the can and pour them, juice and all, into the water. They produce a pinkish/fuchsia color on the eggs.
Green
- 1 cup fresh spinach
- 2 cups water
- 3 tsp vinegar
 The spinach can be chopped or cut with kitchen shears into medium pieces. When used to dye your eggs, it creates a subtle pea green color. Unfortunately, this is the least vivid of the dyes but it does still look nice in its own way.
 UPDATE:
After more experimenting this year, we deduced that if you’d like to make a more faithful, bright green, you can actually do so easily by combining the cabbage mix for the blue, and the turmeric mixture below for yellow. The result is a strange, reddish colored liquid which turns the eggs bright green. We have no idea how the hell it works, but hey, results are results!

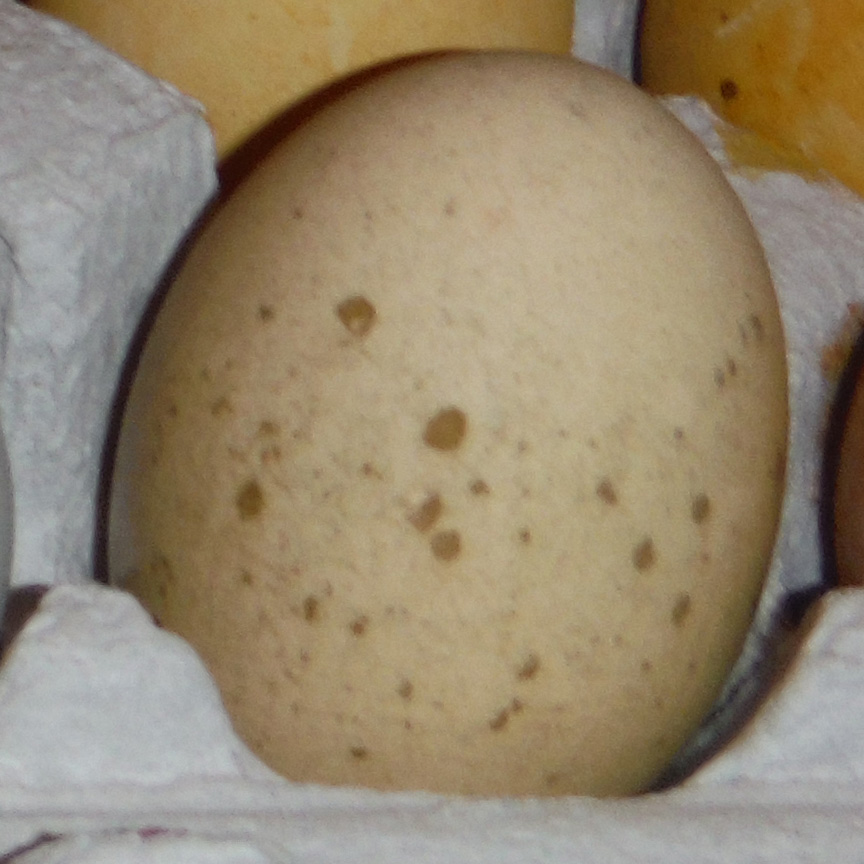
Yellow and Orange
Both yellow and orange are created using spices instead of solid vegetables. As such, they have their own, slightly different procedures. Rather than using two more pots on a stove that most likely has no more room left, you can instead boil two cups of water in a kettle, and then pour one cup each of the hot water into two bowls or cups. NOTE: Make sure you pour it into something that is durable enough to hold boiling water like glass or mugs. Add in your vinegar and stir, then add in the spice to each one and stir. The mixtures will both be kind of thick, since the paprika and turmeric both wont dissolve fully, however it doesn’t affect the dye either way.

Yellow
- 2 tbsp turmeric
- 1 cup water
- 2 tsp vinegar
Orange
- 2 tbsp paprika
- 1 cup water
- 2 tsp vinegar

So as you can see, the dyes definitely work. And as said, we personally think they look nicer than the hyper-neon bright colors you get from Paas kits. Perhaps the most surprising and important thing we should point out about this whole process? It’s actually incredibly cheap/affordable. One would think that creating organic Easter eggs would involve shilling out $15 or $20 to gather up exotic ingredients, yet our trip to the grocery store for our supplies cost little over $5 bucks! That’s not much more expensive than you’d be spending on the cheapest artificial dyes, and cheaper than the more elaborate kits. So in other words, it’s fun, cheap, results in better-looking eggs and edible foods on the side, and nobody gets cancer! Wins all around!
Happy Easter from Poor Couple’s Food Guide!
Posted on April 19, 2014, in We Can Do It Better and tagged awesome, beets, Classy, Easter, eggs, gluten-free, knowledge is power, On the cheap, spring. Bookmark the permalink. 2 Comments.


Pingback: Recipe Time! Leftover Easter Egg Salad | The Poor Couple's Food Guide
Pingback: Spices 101: What is Turmeric? | The Poor Couple's Food Guide